You got an iPad and a digital planner. Now what?
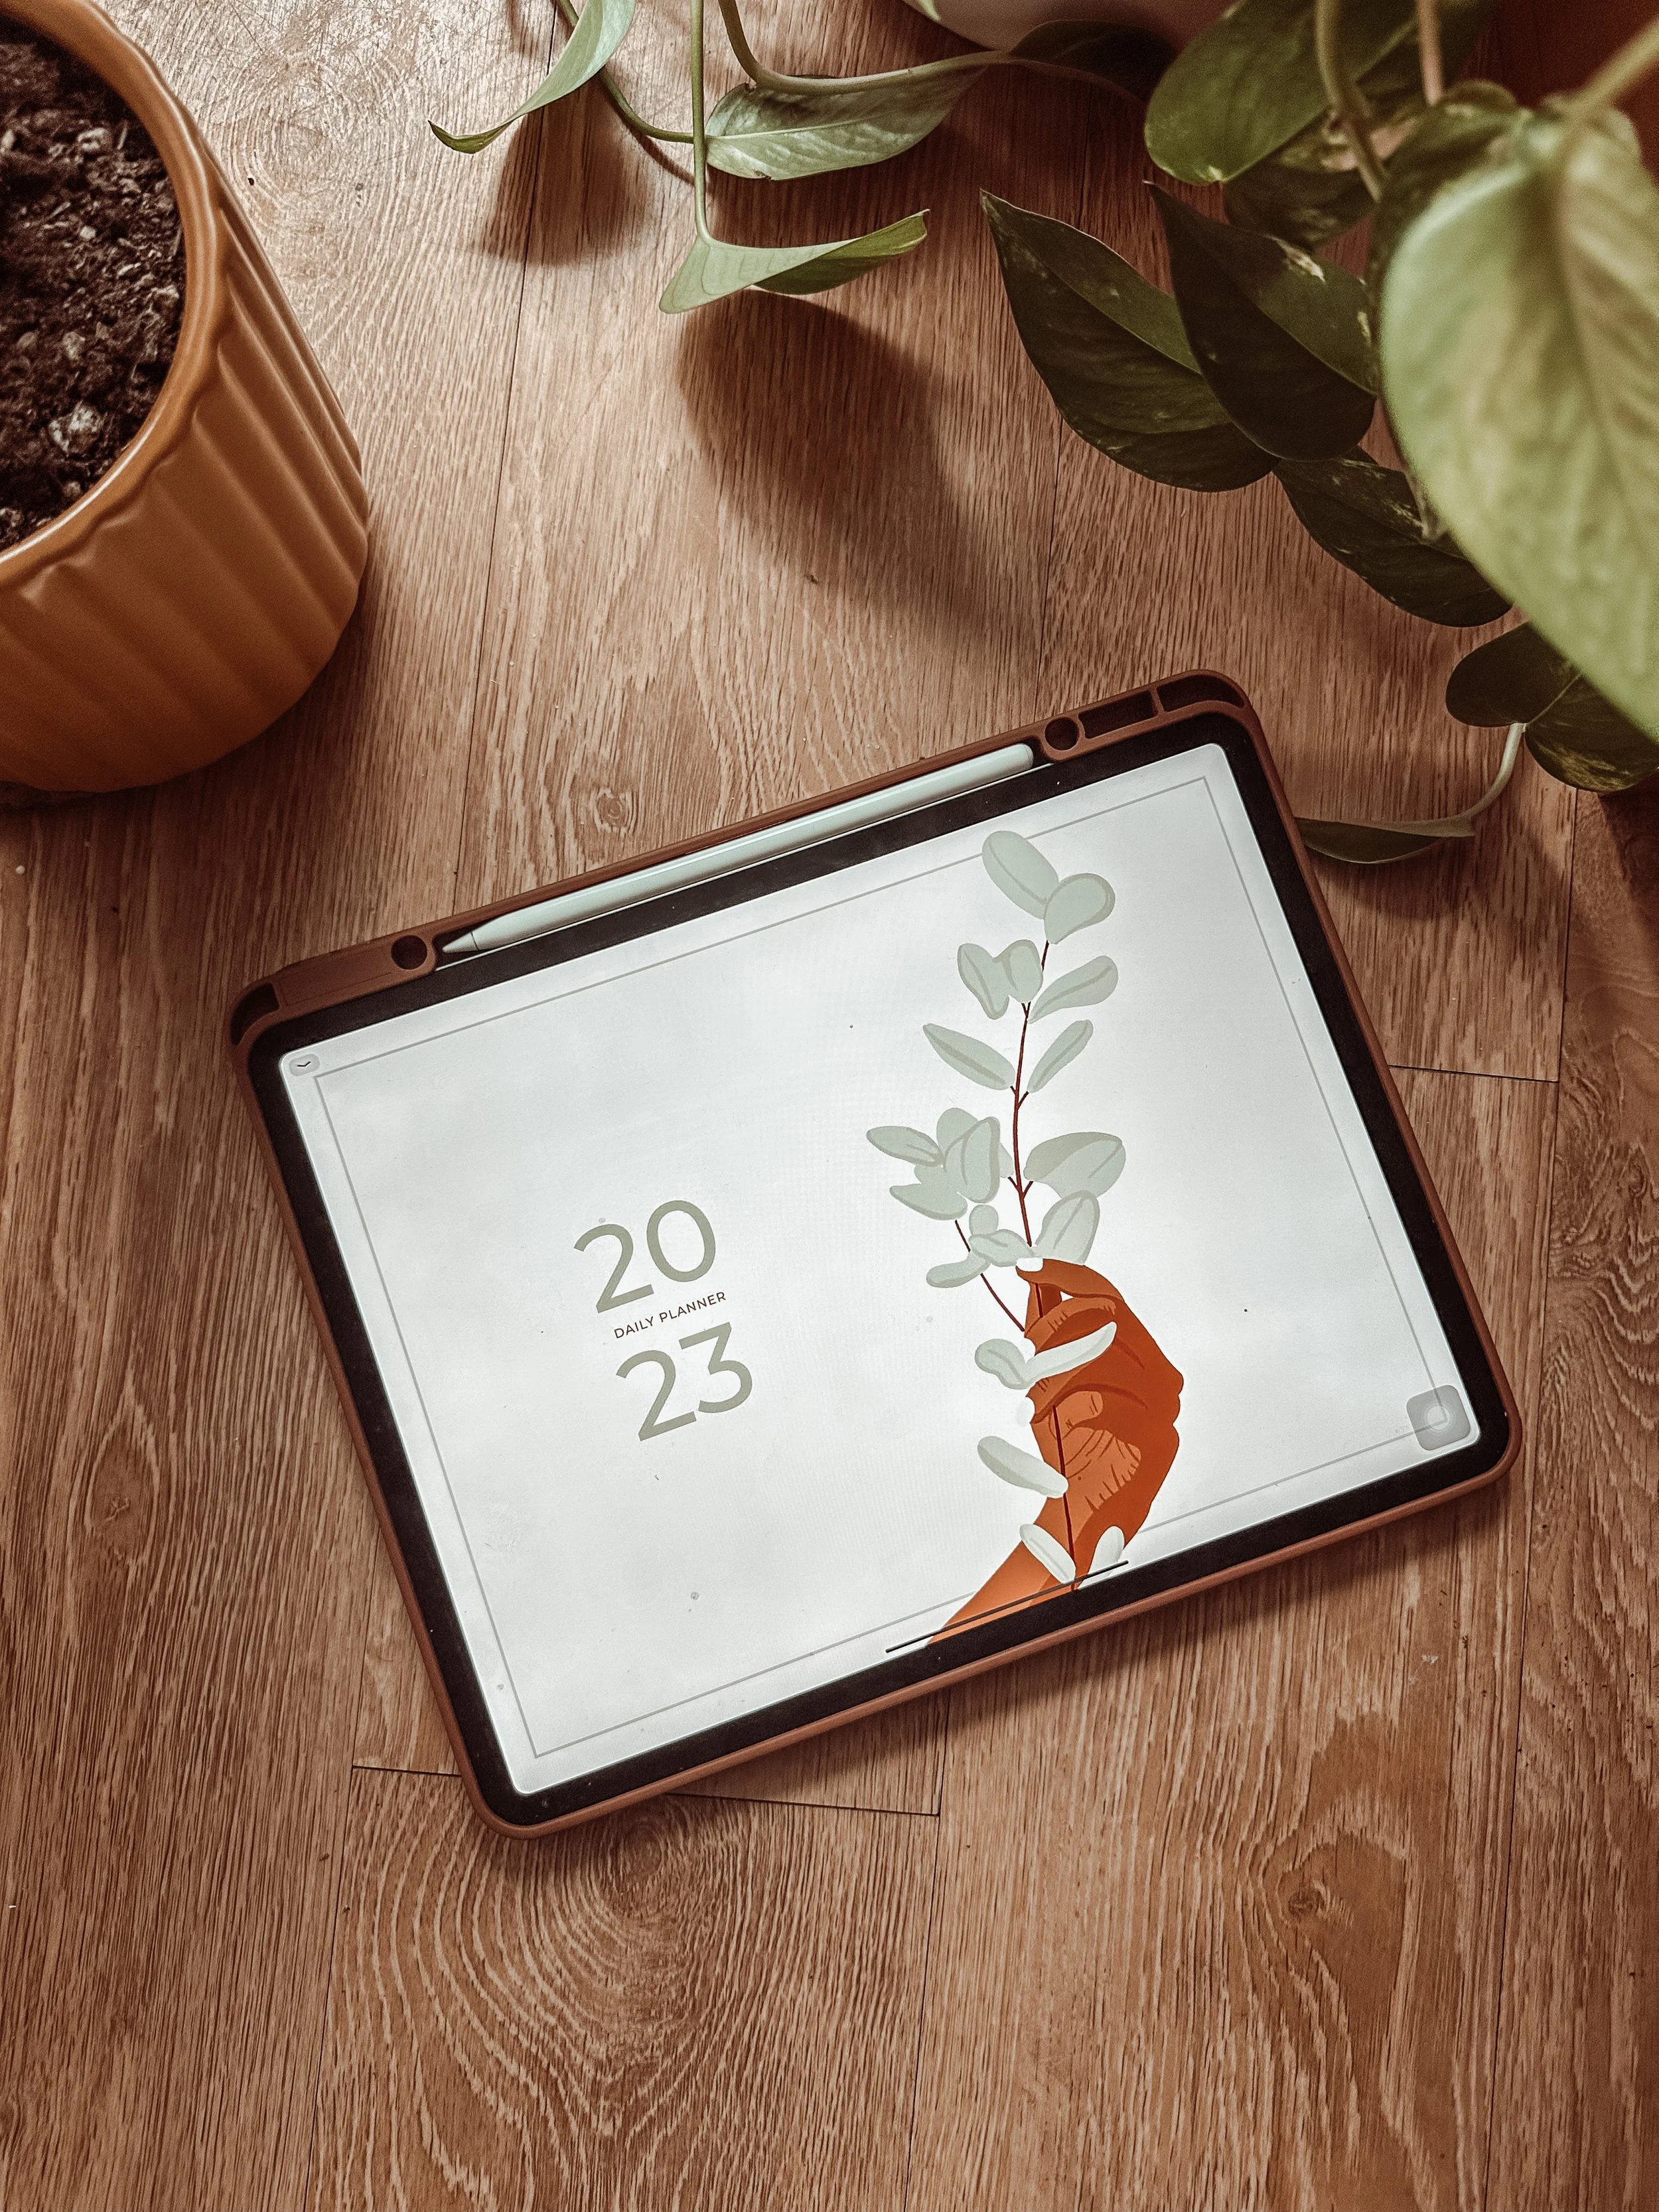
Digital planning is such a fun experience but when getting started it can be a bit overwhelming. Hopefully this guide will help you navigate the exciting world of digital planning. If you’re in the market for a 2024 digital planner, you’re in luck! I just released my 2023 digital planner and will be using it to show examples alongside this guide. Shop here
Happy digital planning!
Benefits of digital planning (for me, personally):
Access across all my devices (mobile, iPad and desktop)
Unlimited resources and digital assets (digital stickers and more)
Free access to hosting app (GoodNotes 5) Download here
Handwriting to text feature (I’ll explain this in a future guide)
How to use your digital planner:
What you need to begin:
IPad
GoodNotes 5 app (free)
Digital Planner —> Shop here if you need one.
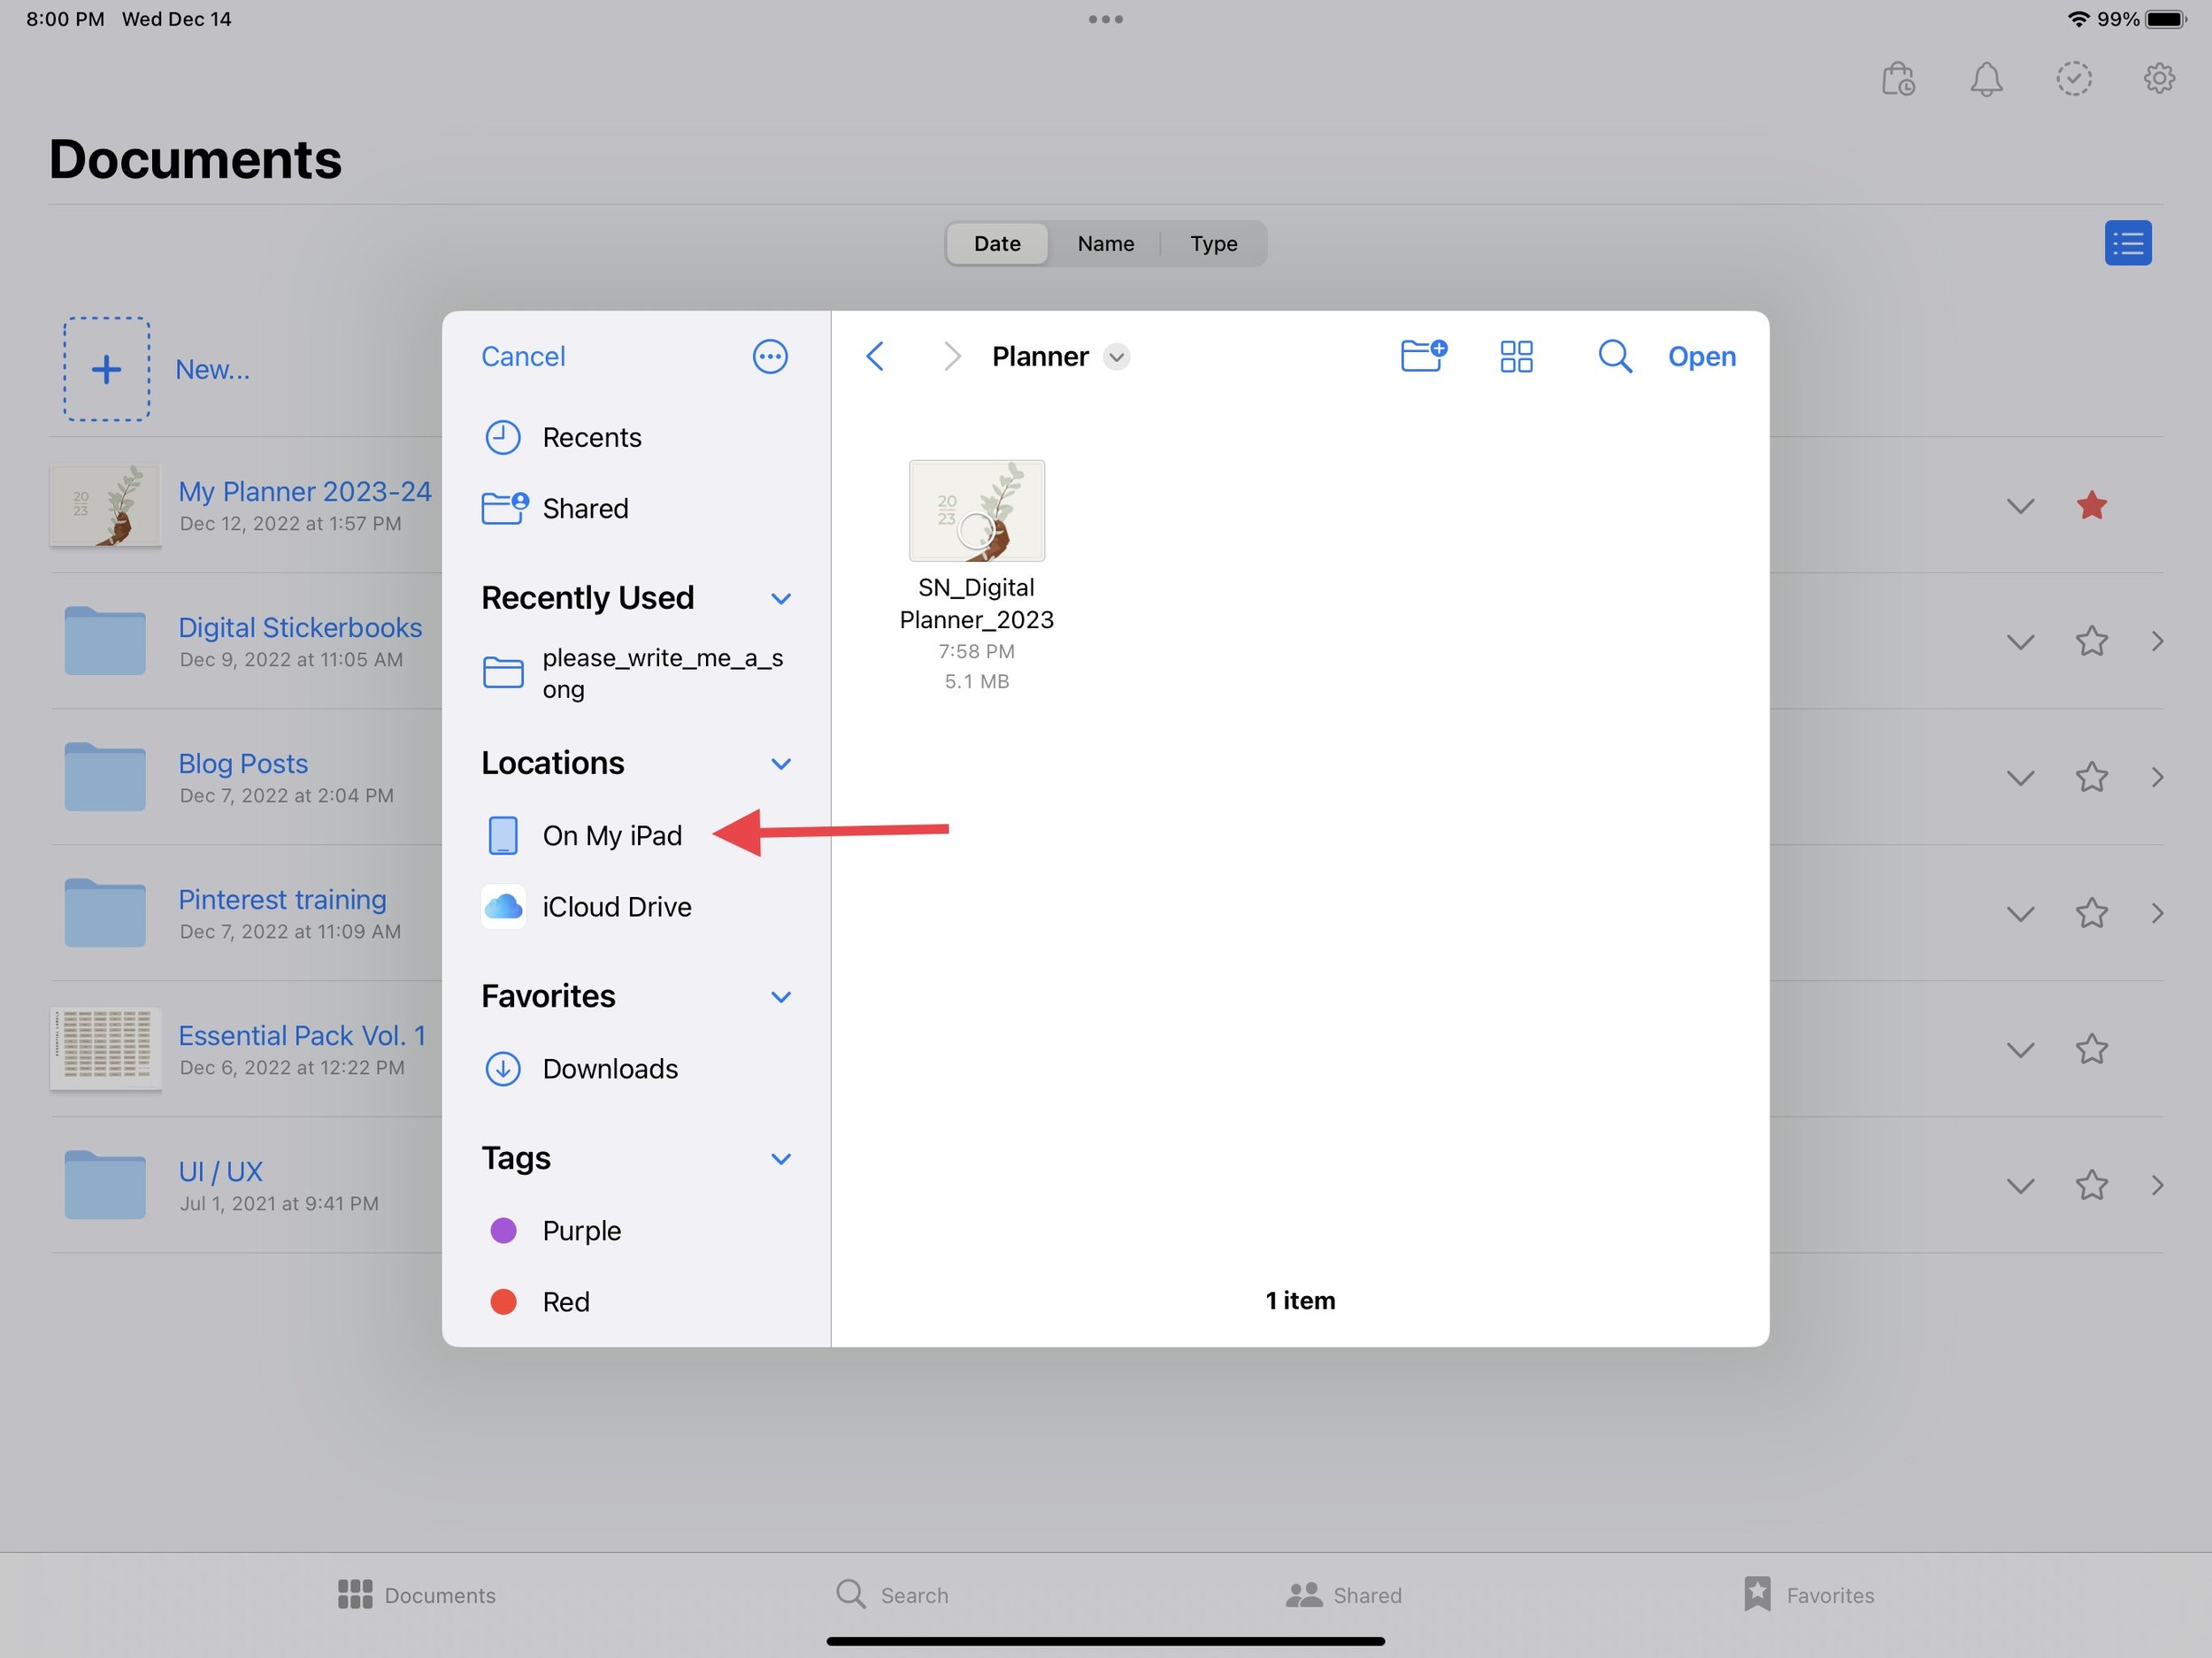
Unzipping your Zipped File:
I recommended you download your zipped file via desktop but if that’s not accessible you can use your iPad.
Download your digital planner file to your iPad and save it to “on my iPad”. You can create a new folder for all of your digital planning tools for future use.


Importing your planner into GoodNotes App:
Open the GoodNotes App
Tap “+ New”
Select “Import”

Find your file in your Files App “On my Ipad” or Cloud storage
Tap on the file to import it into GoodNotes

You’re now ready to start using your digital planner in GoodNotes! Now to the fun part – How to use the app and some of the cool features included in your digital planner like hyperlinks.
Hyperlinks and how to use them in GoodNotes:
One of the coolest features (to me at least) is to be able to jump to sections of your planner without scrolling through hundreds of pages. I know when I created my planner I was up to 600+ pages (🫠) but we add a little magic to the file that allows the user to jump to the sections they need without the endless scrolling.
How to get them to work in GoodNotes:
When you first open your planner in GoodNotes, you will not be able to click anything without it drawing. In order to use the hyperlinks function you have to ensure the “Read-Only” button is enabled.
It’s located in the top blue bar on the right and it looks like a crossed put pencil.

When this function is enable it will allow you to scroll and tap through your planner.
When you are finished and ready to begin planning you can tap on the “Writing-mode” icon which looks like a pencil doing a scribble.

Templates and page duplication:
Some planners will have template pages included in the design but it may not be placed all throughout the planner. Typically this allows the user to insert the pages in the planner where they like.
My planner features five templates that can be use for daily, weekly, monthly and yearly inserts. These pages can be duplicated and copied as many times as you want.

Duplicating pages:
Enable “Read_only” Feature
Go to the page in your planner that you want to duplicate ( I went to the meal planner page)
Tap the “Add page” Icon in the top right corner
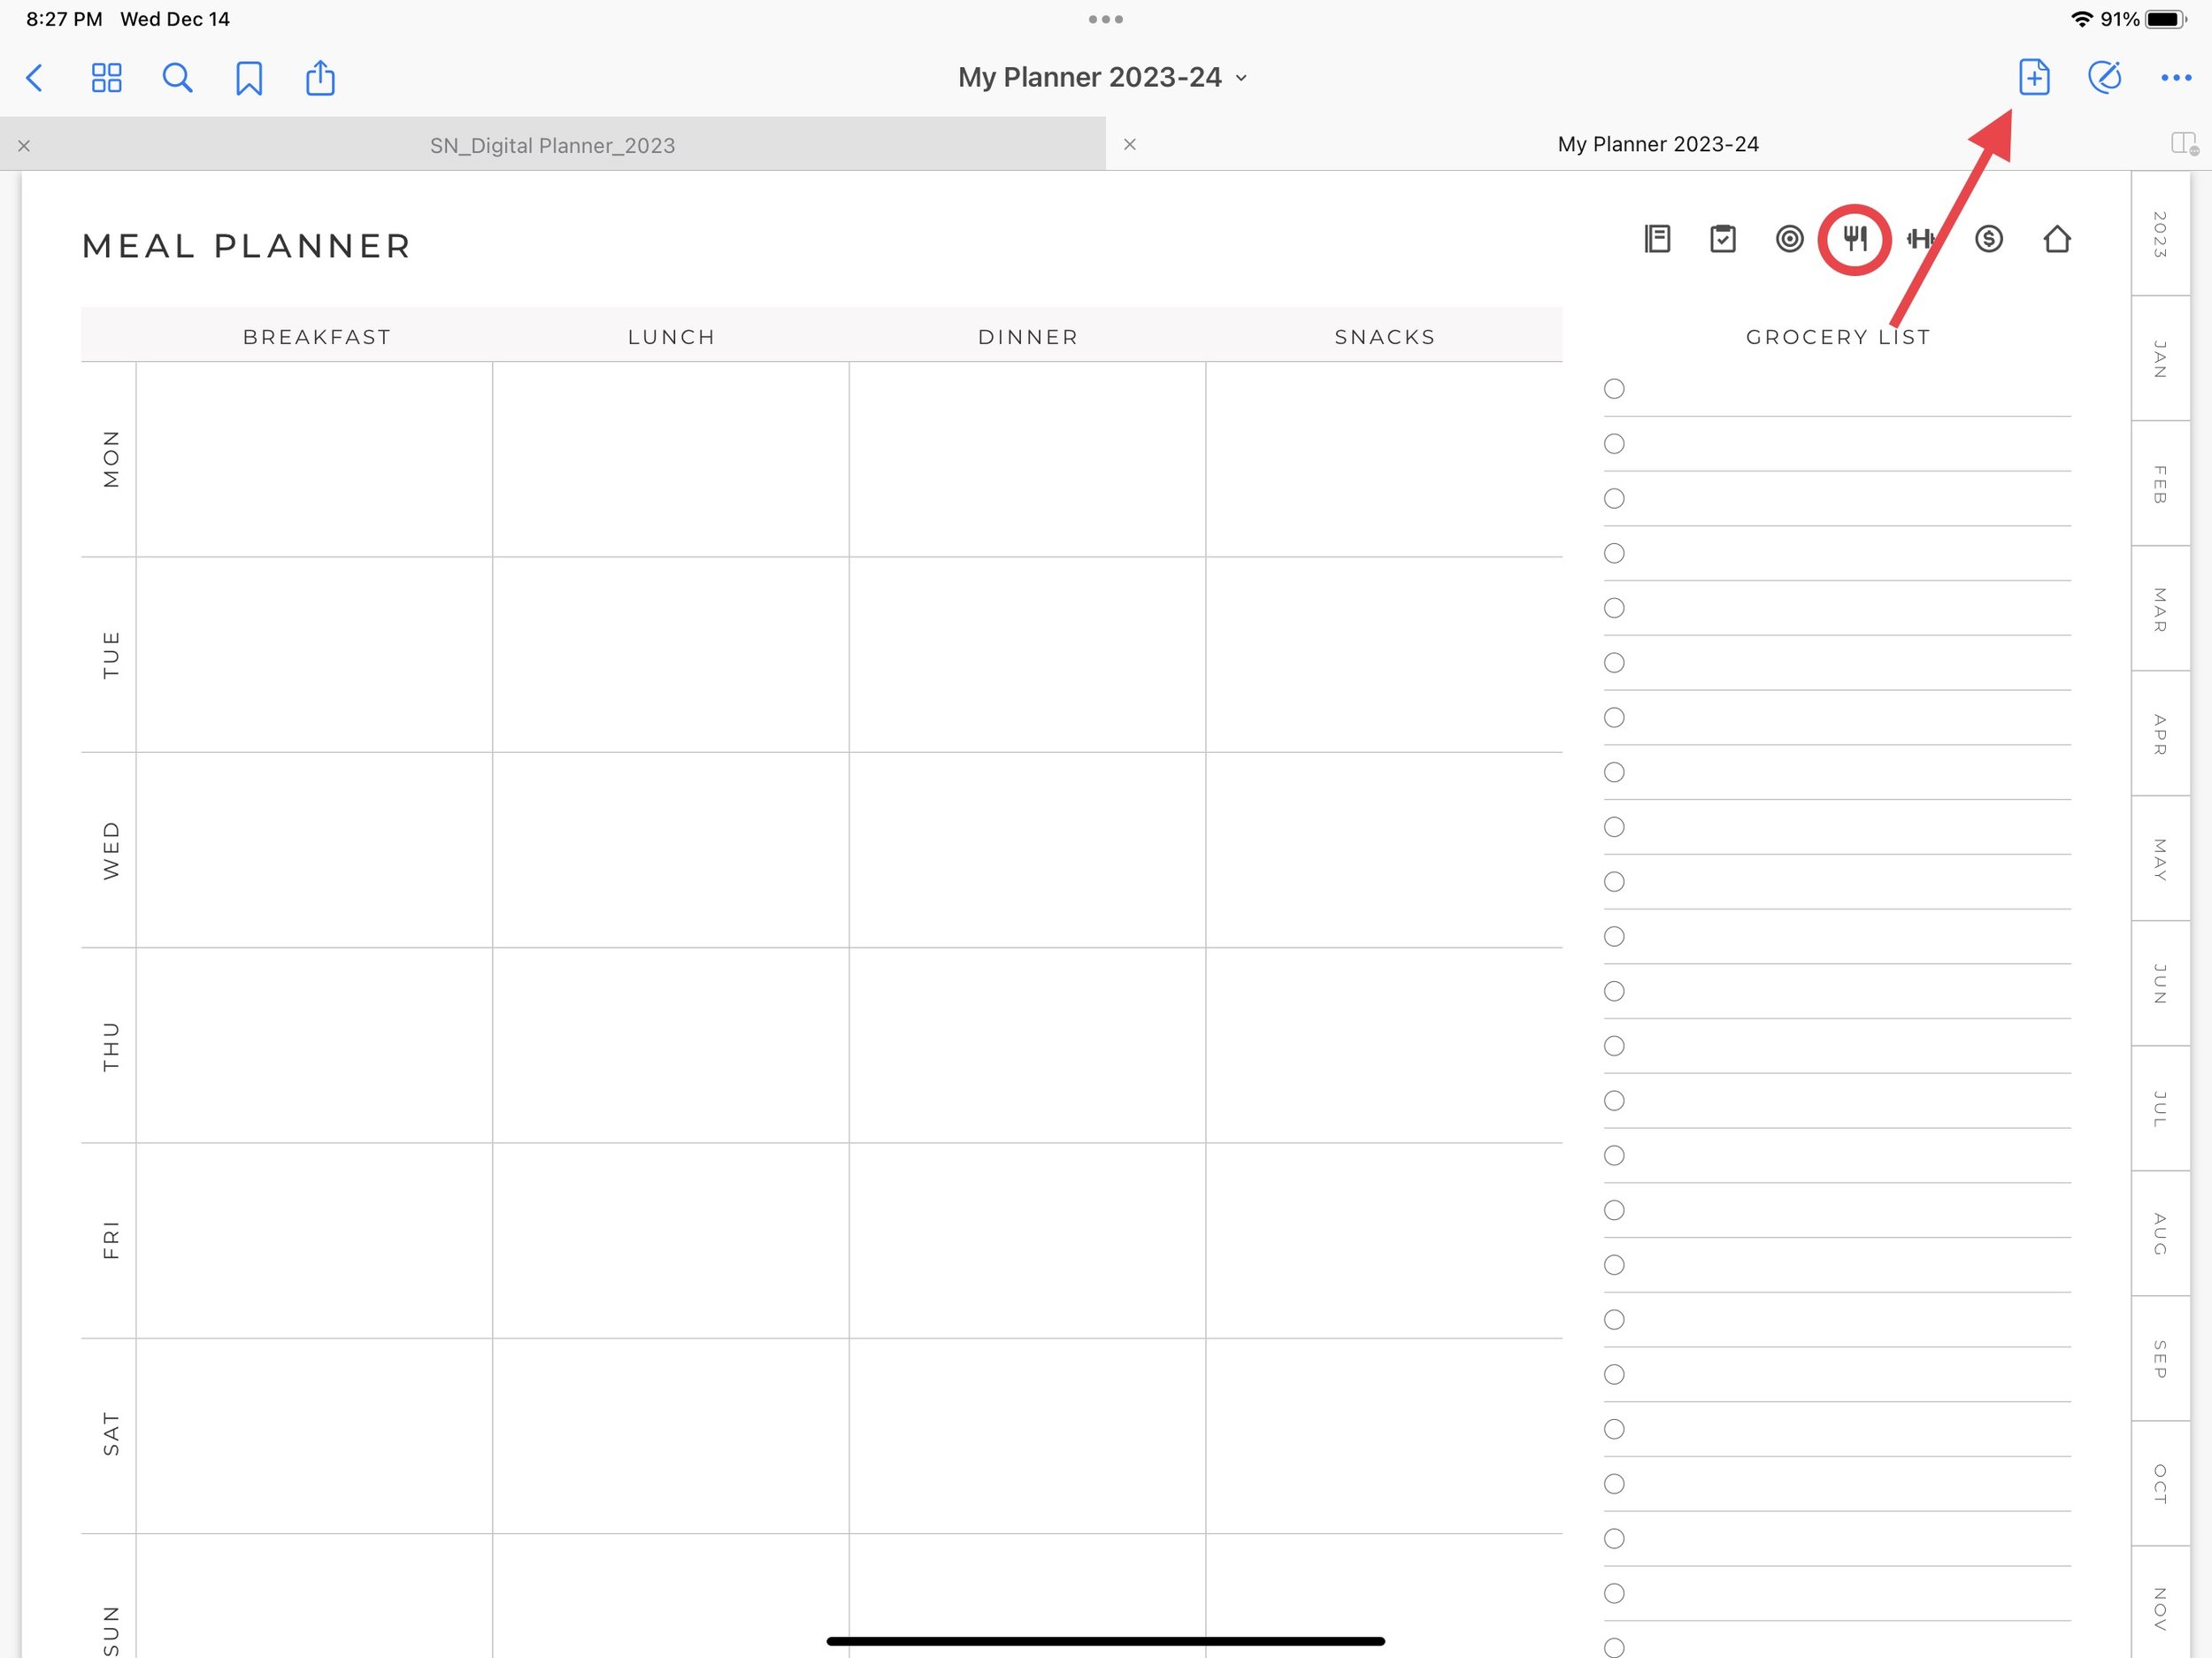
Tap ”Current Template”

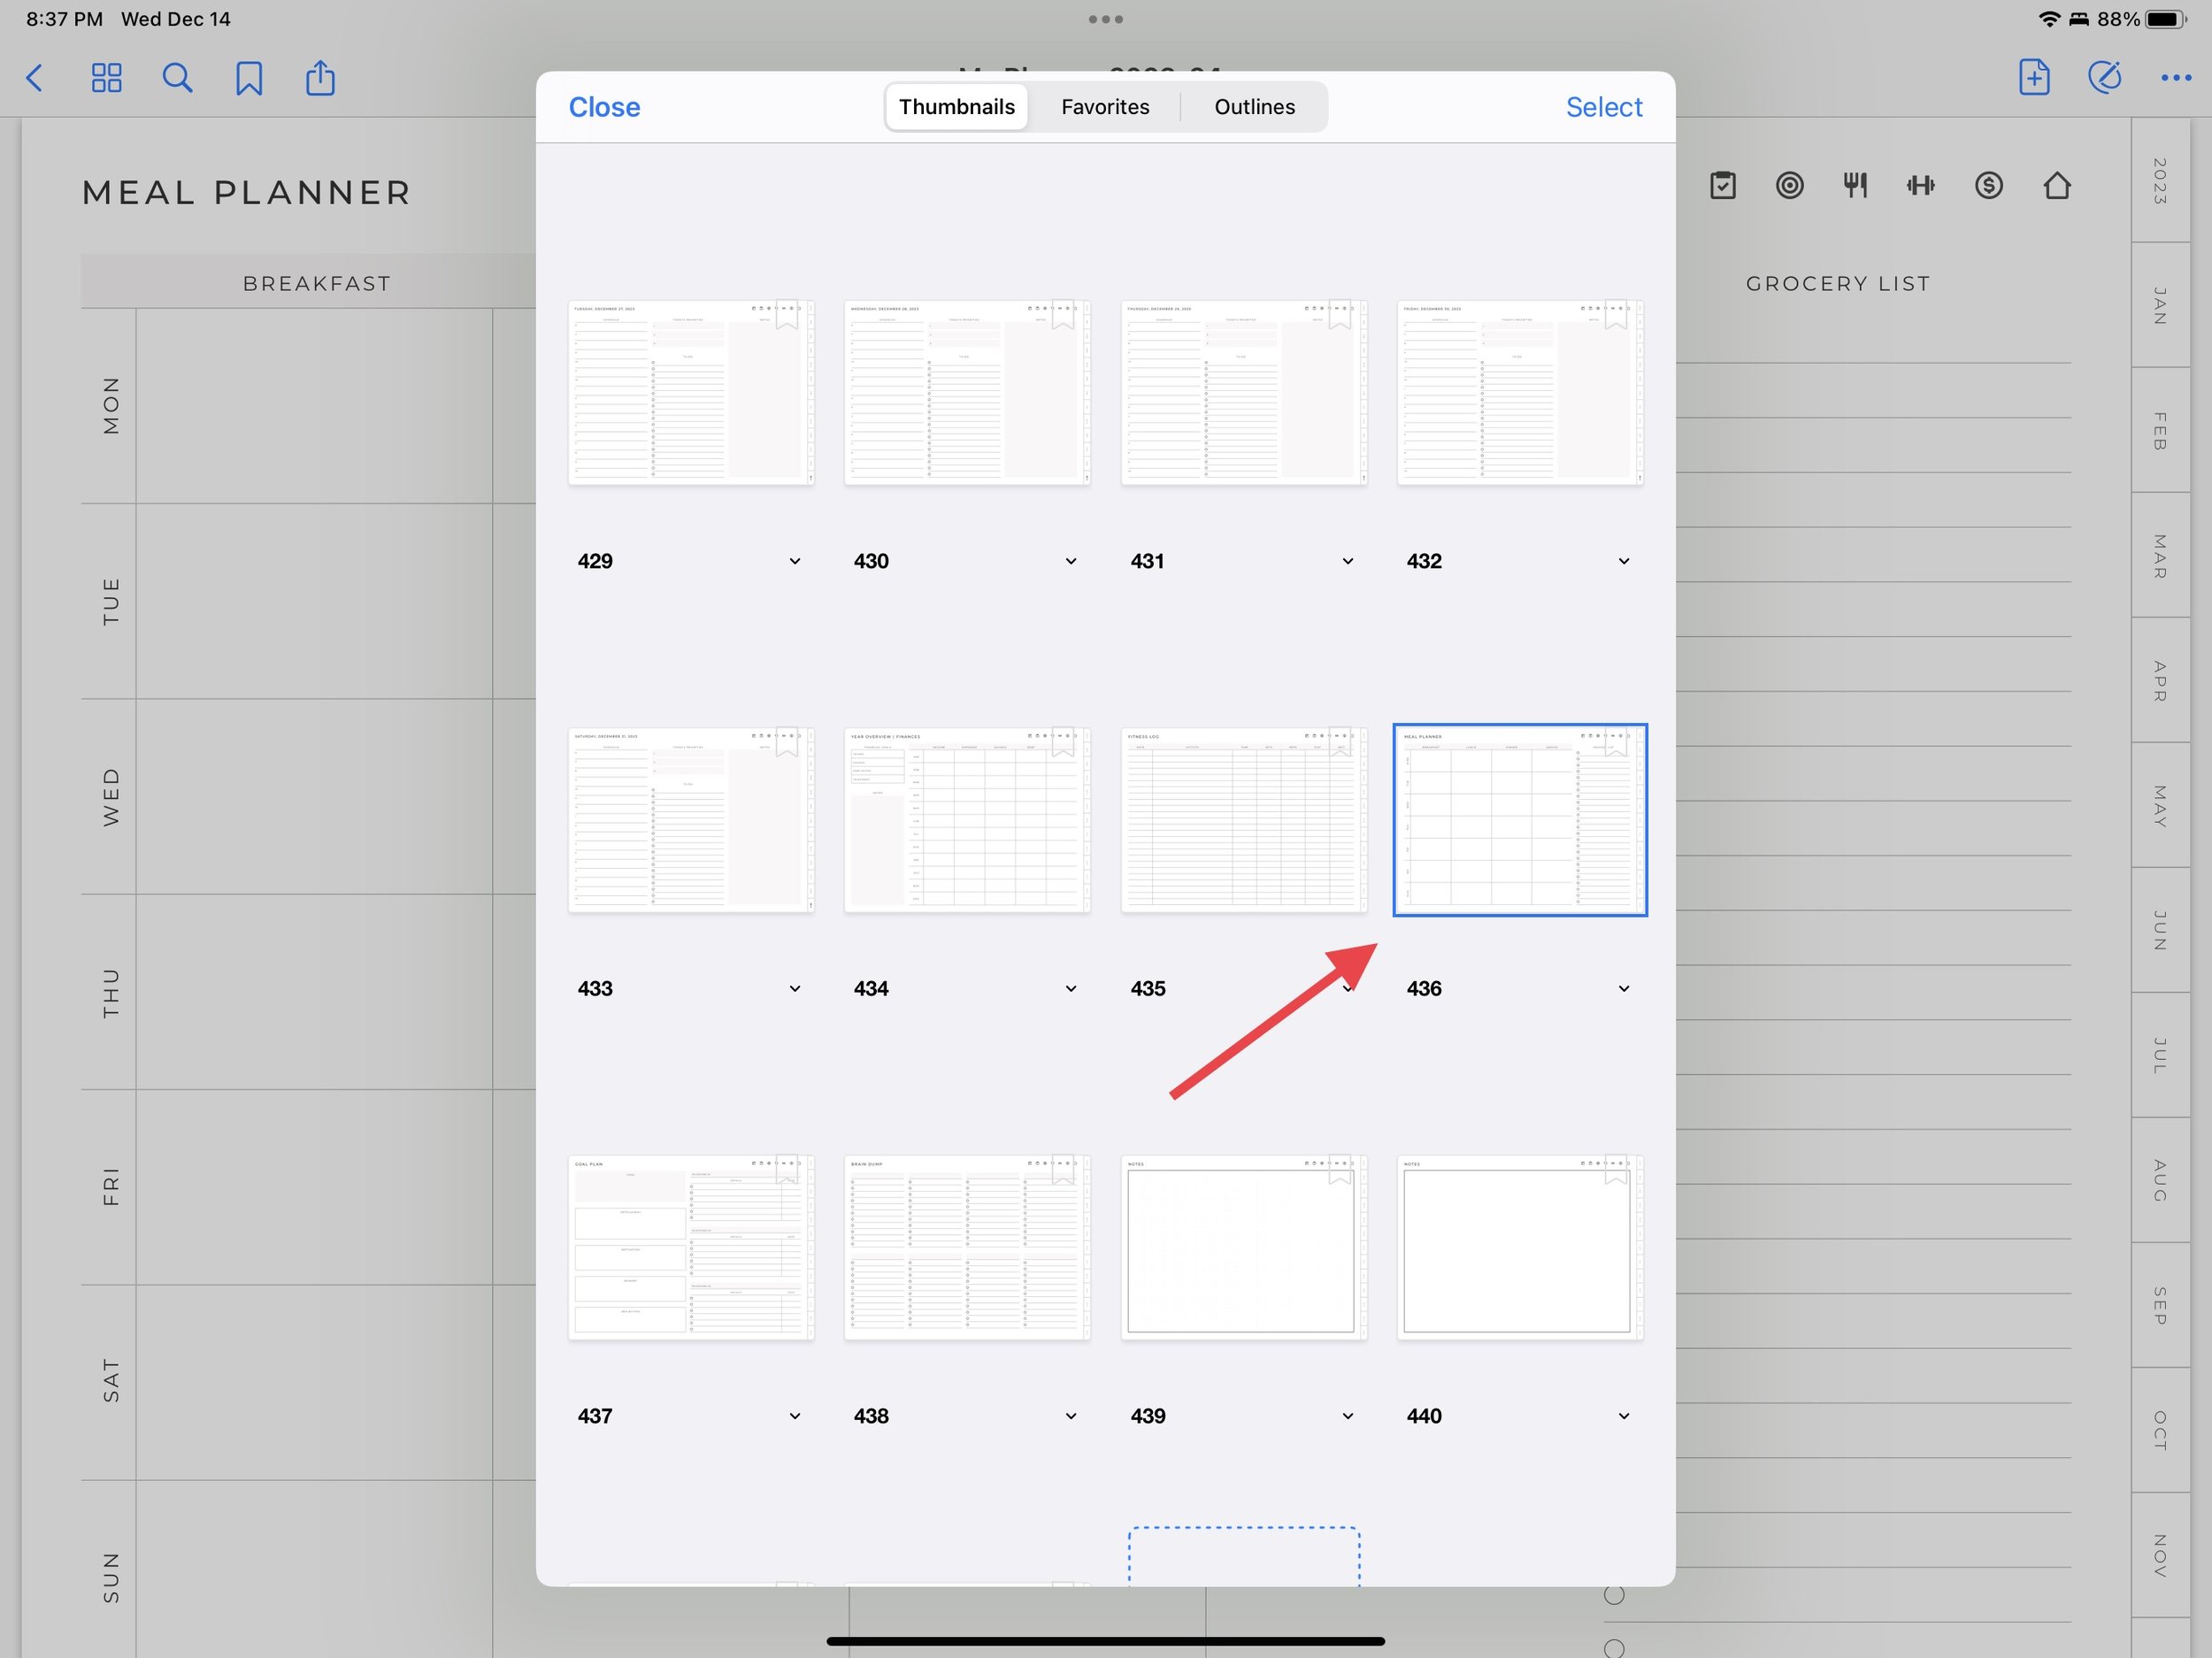
If you want to rearrange your pages:
Go to the page you want to move
Tap the “Thumbnail view” in the top left corner

Tap the current page that is outlined in blue
Drag it to where you want it to go
Deleting pages:
Go to the page you want to delete
Tap the “Thumbnail view” in the top left corner
Tap “Select” in the right corner
Tap the page you want to delete
Tap the “trash icon”
