Guide on How to use digital stickers in GoodNotes
Let the fun begin! Being able to customize your digital planner is one of the most exciting features of digital planning. However, getting them set up is not the easiest task. But once you get the basics down you‘ll be a pro in no time.
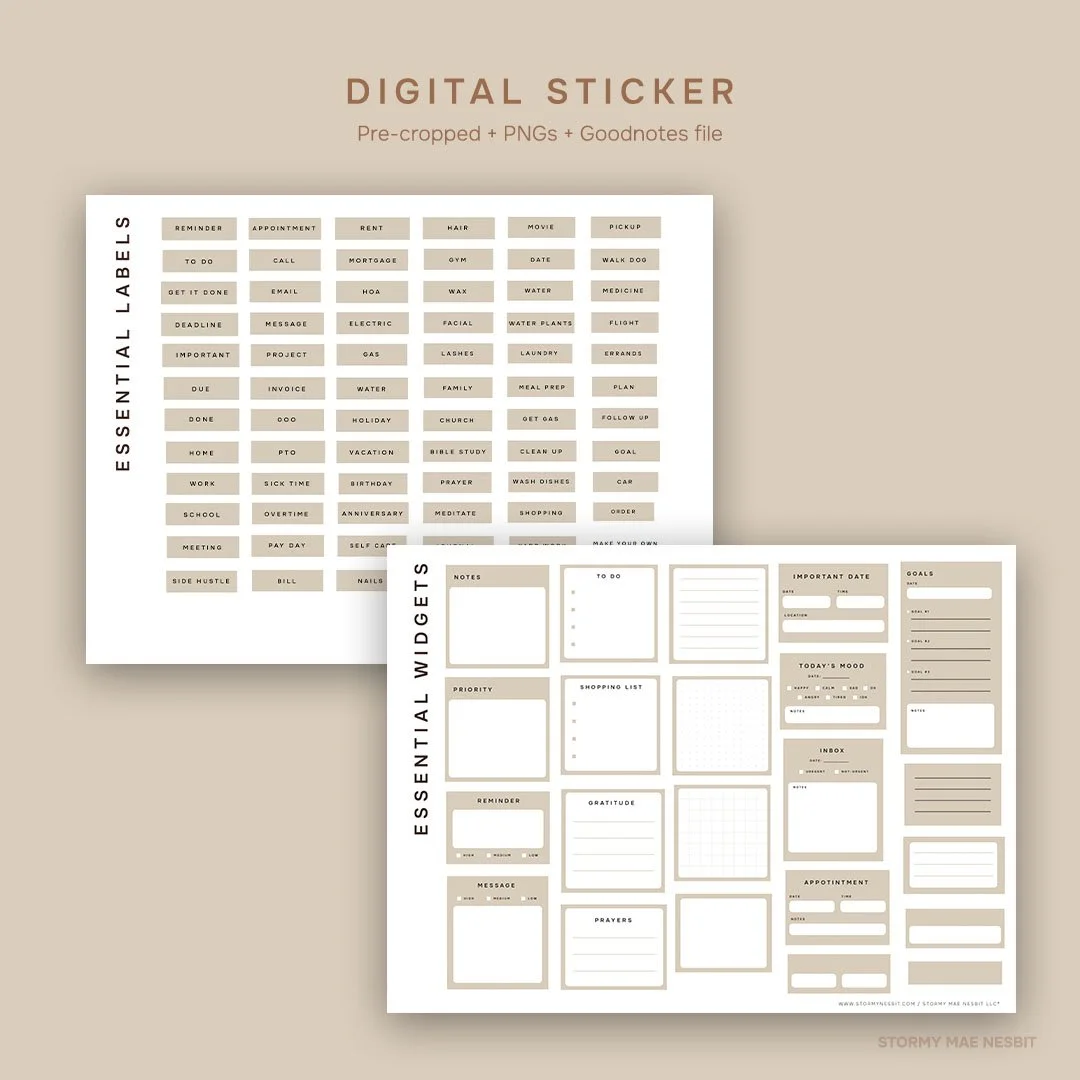
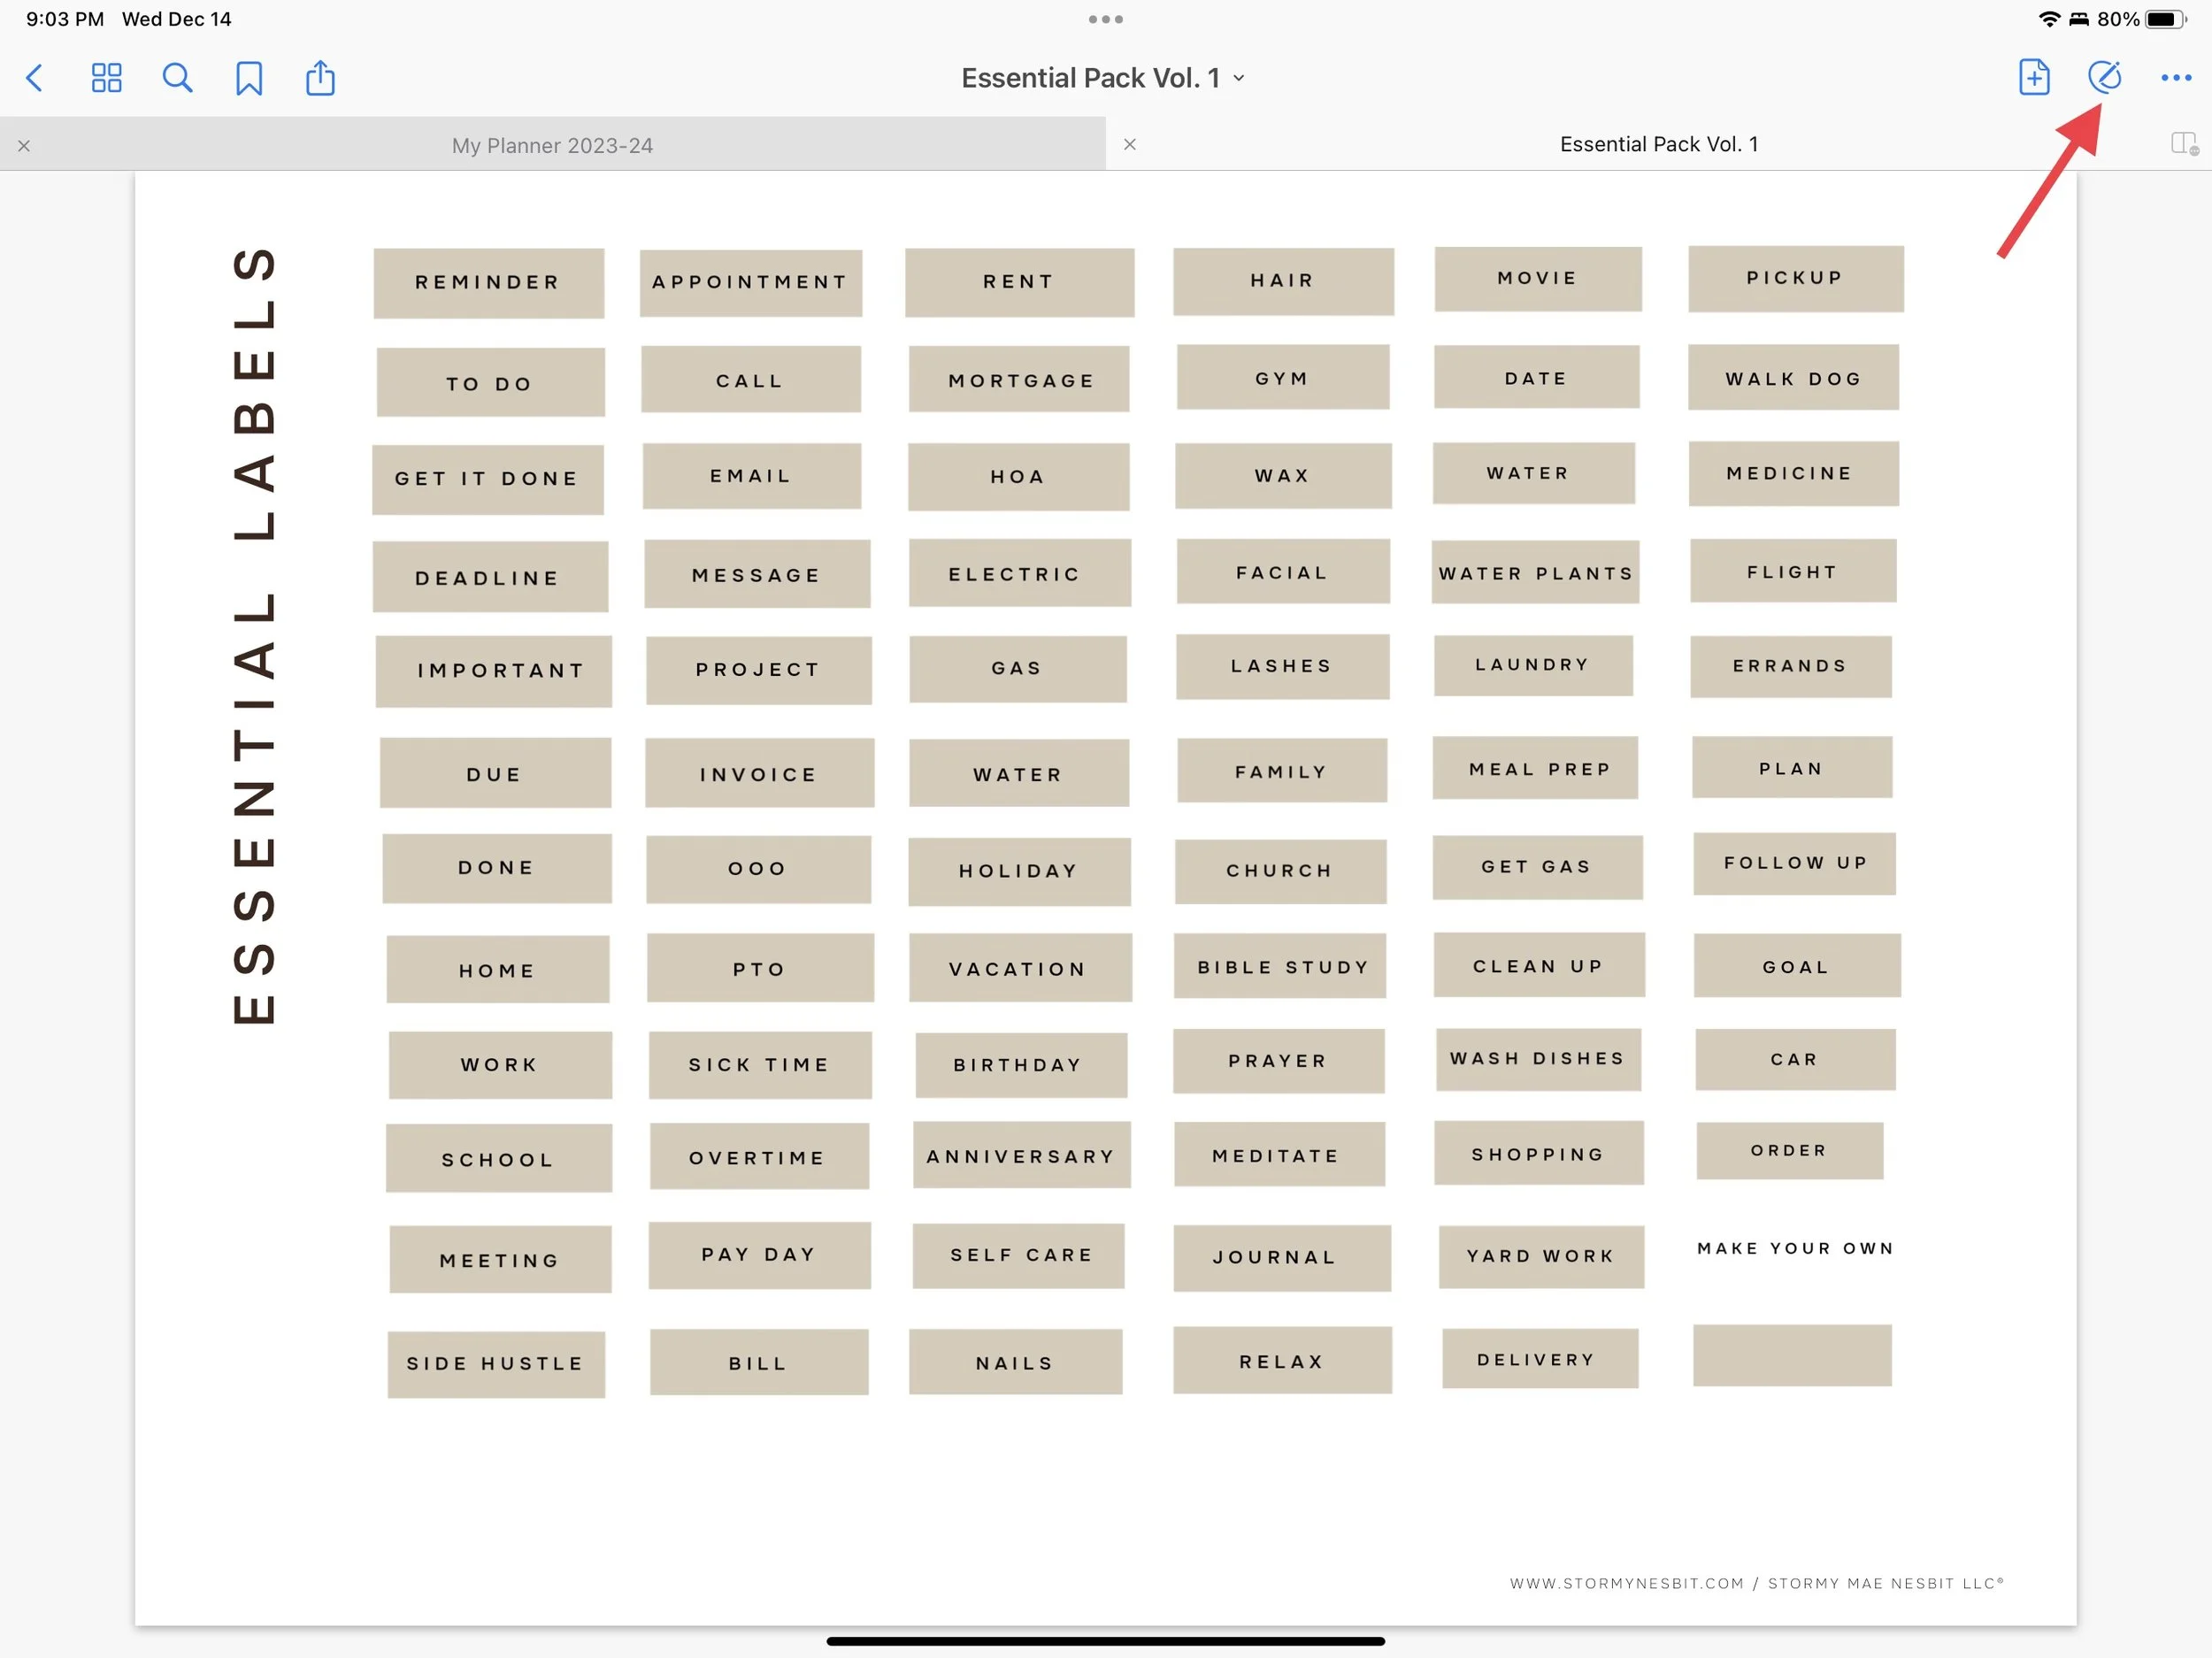
If you’re interested in some new digital stickers, check out some that I offer: Shop here
Importing into GoodNotes
Your order will typically come with the following files:
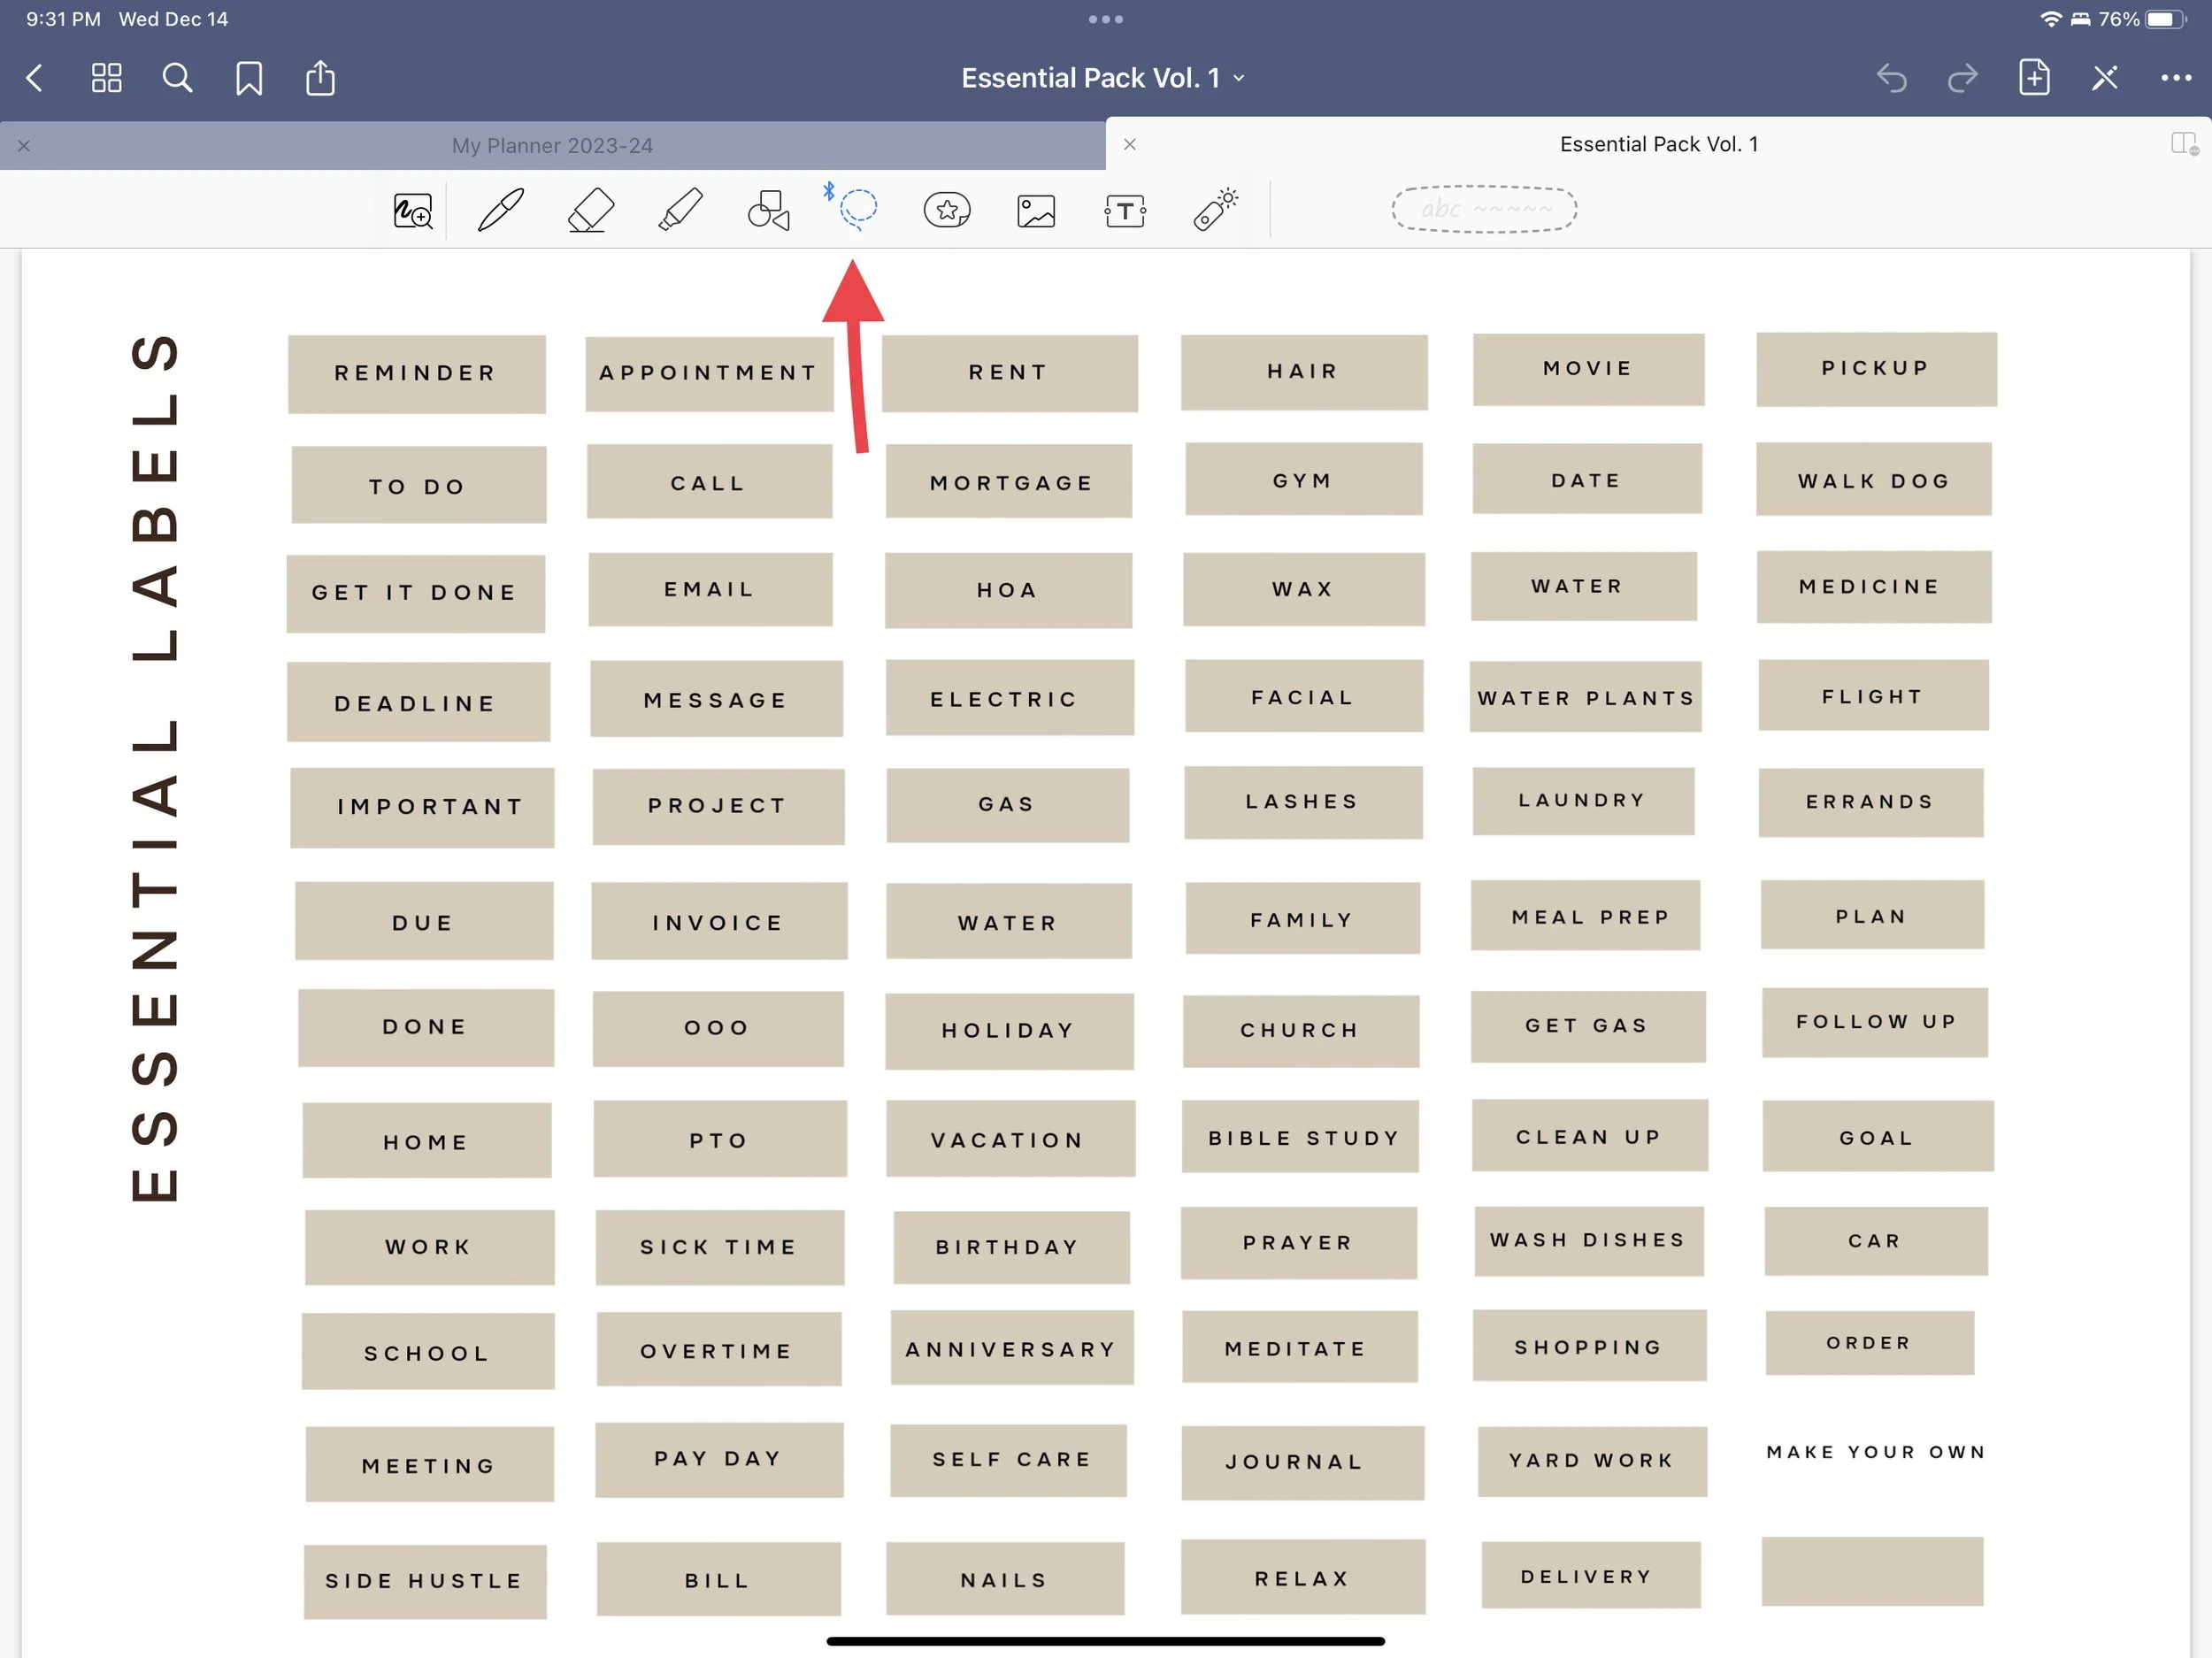
GoodNotes files that have pre-cropped stickers
PNGs
You will use the GoodNotes file to import into GoodNotes. This will allow for easy use in the app and help with effortless designing.
Hot to import:
Open the GoodNotes App
Tap “+ New”
Select “Import”
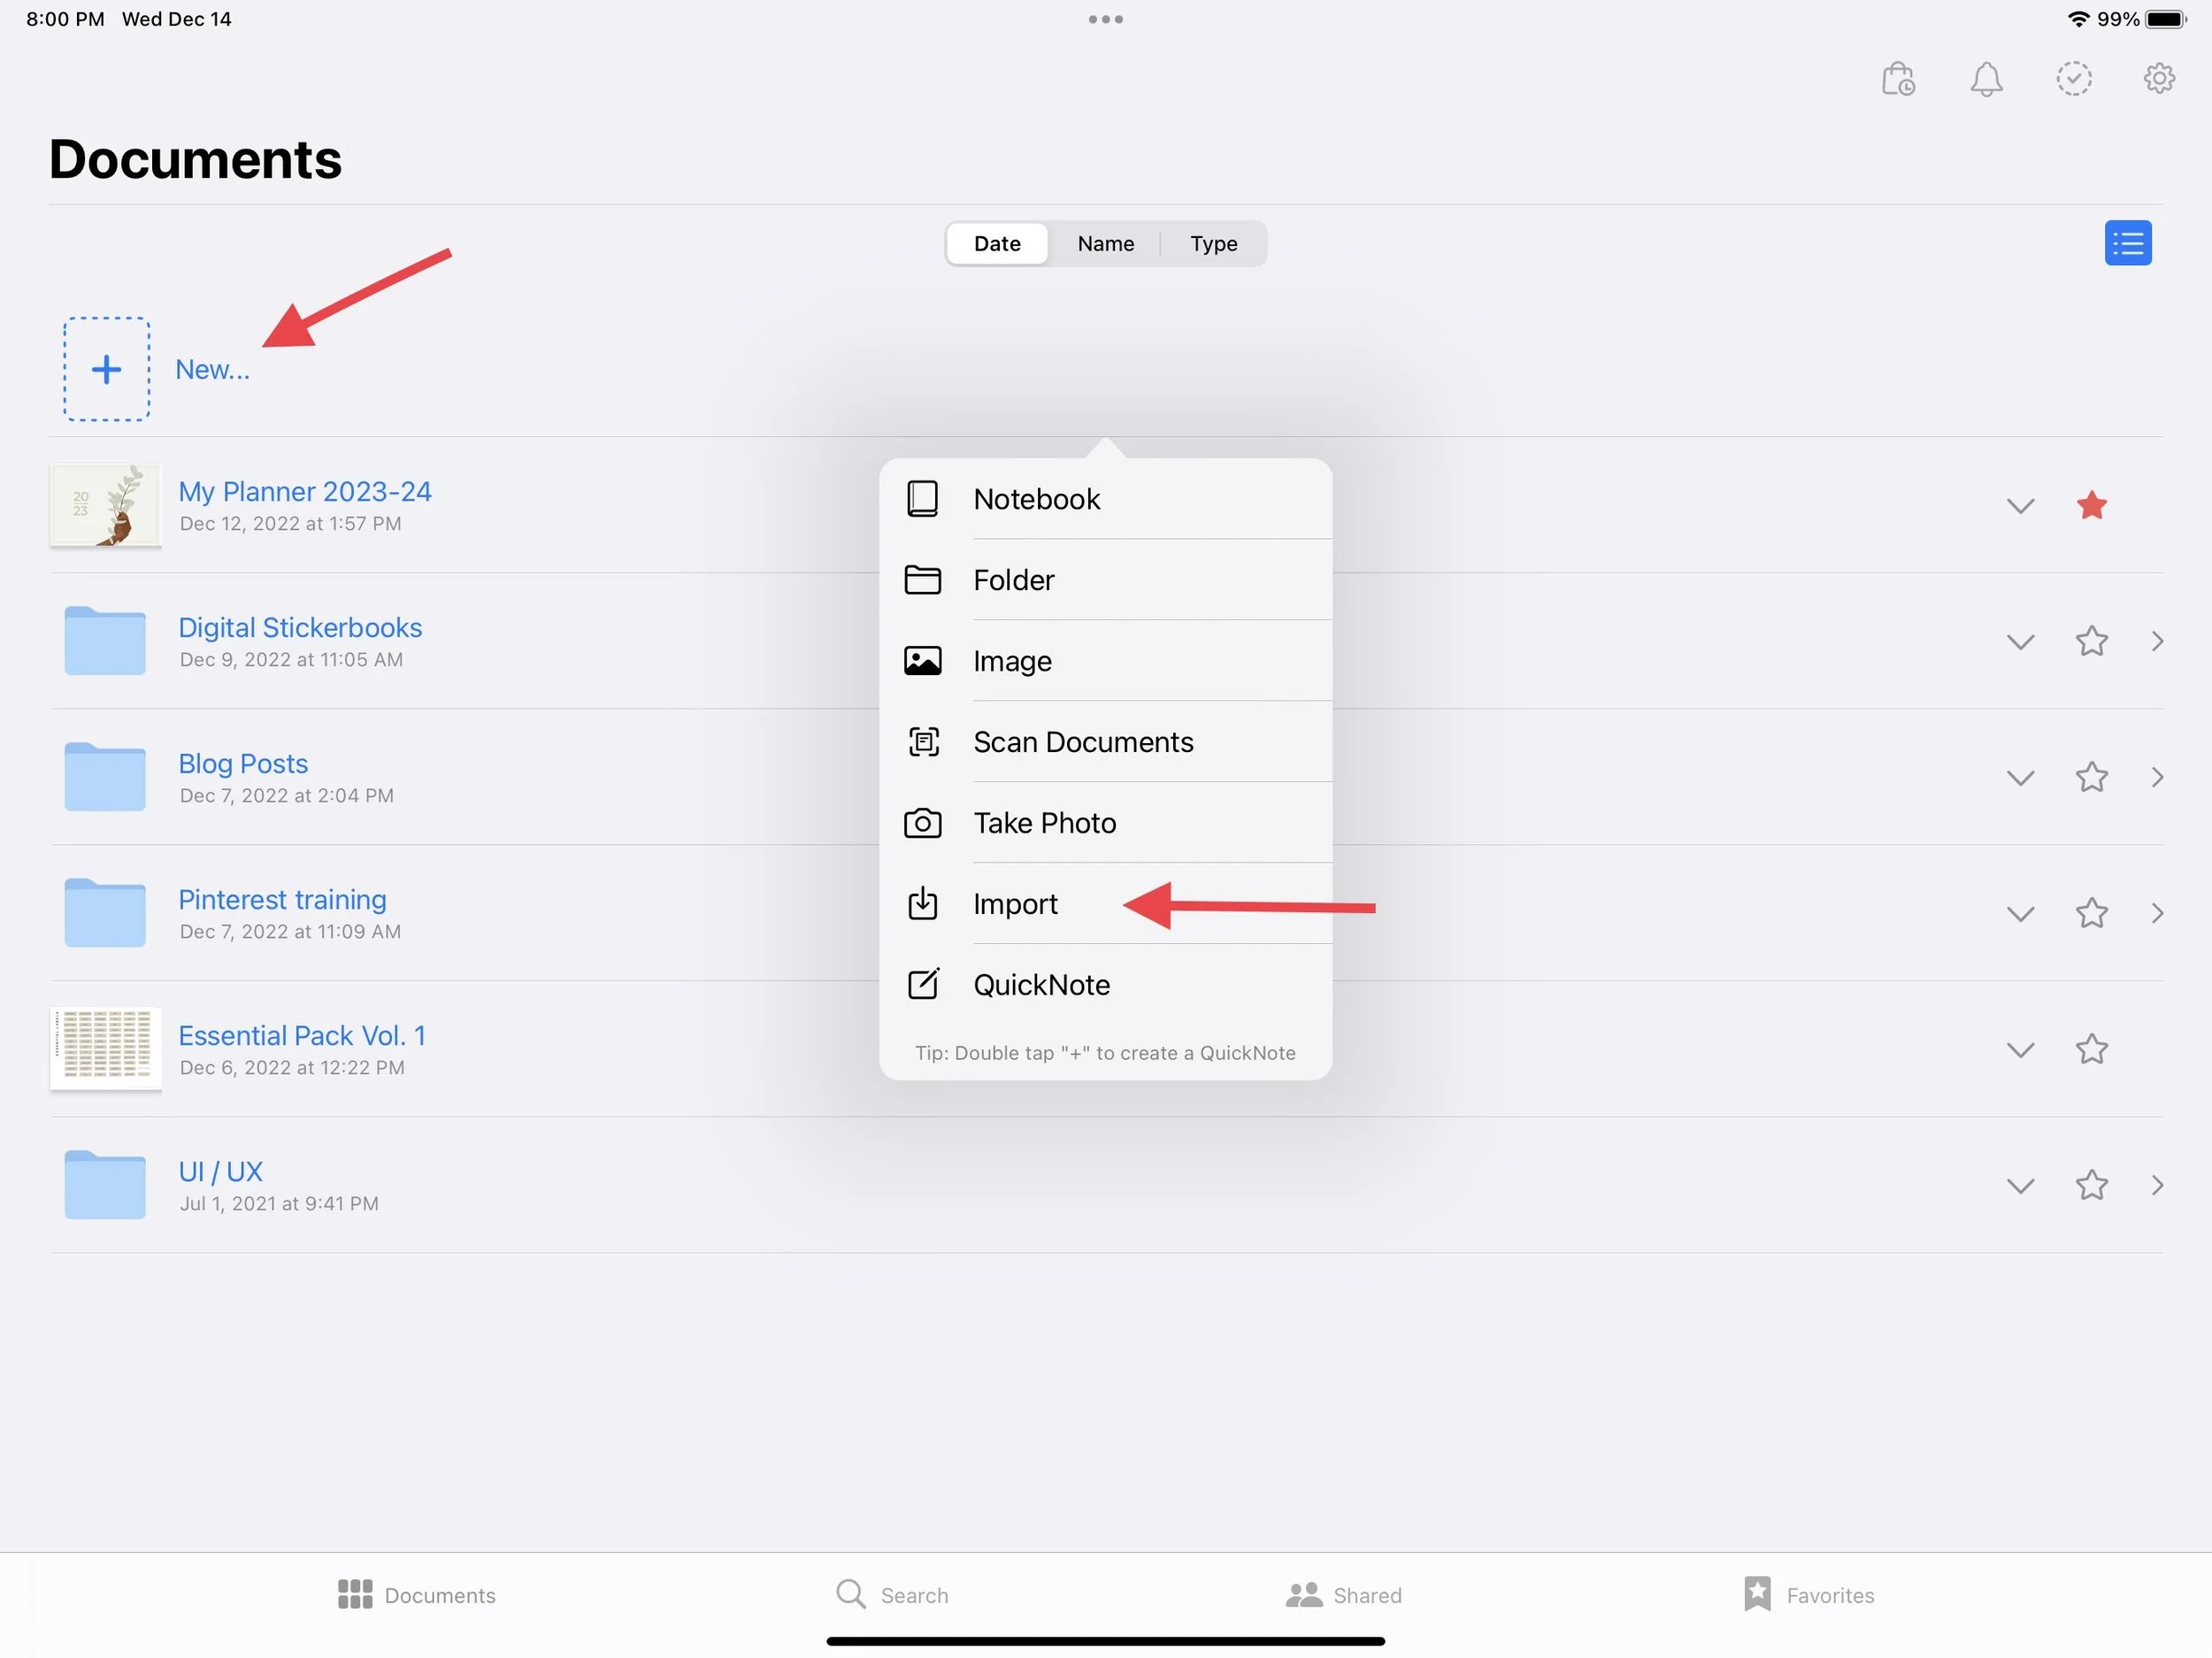
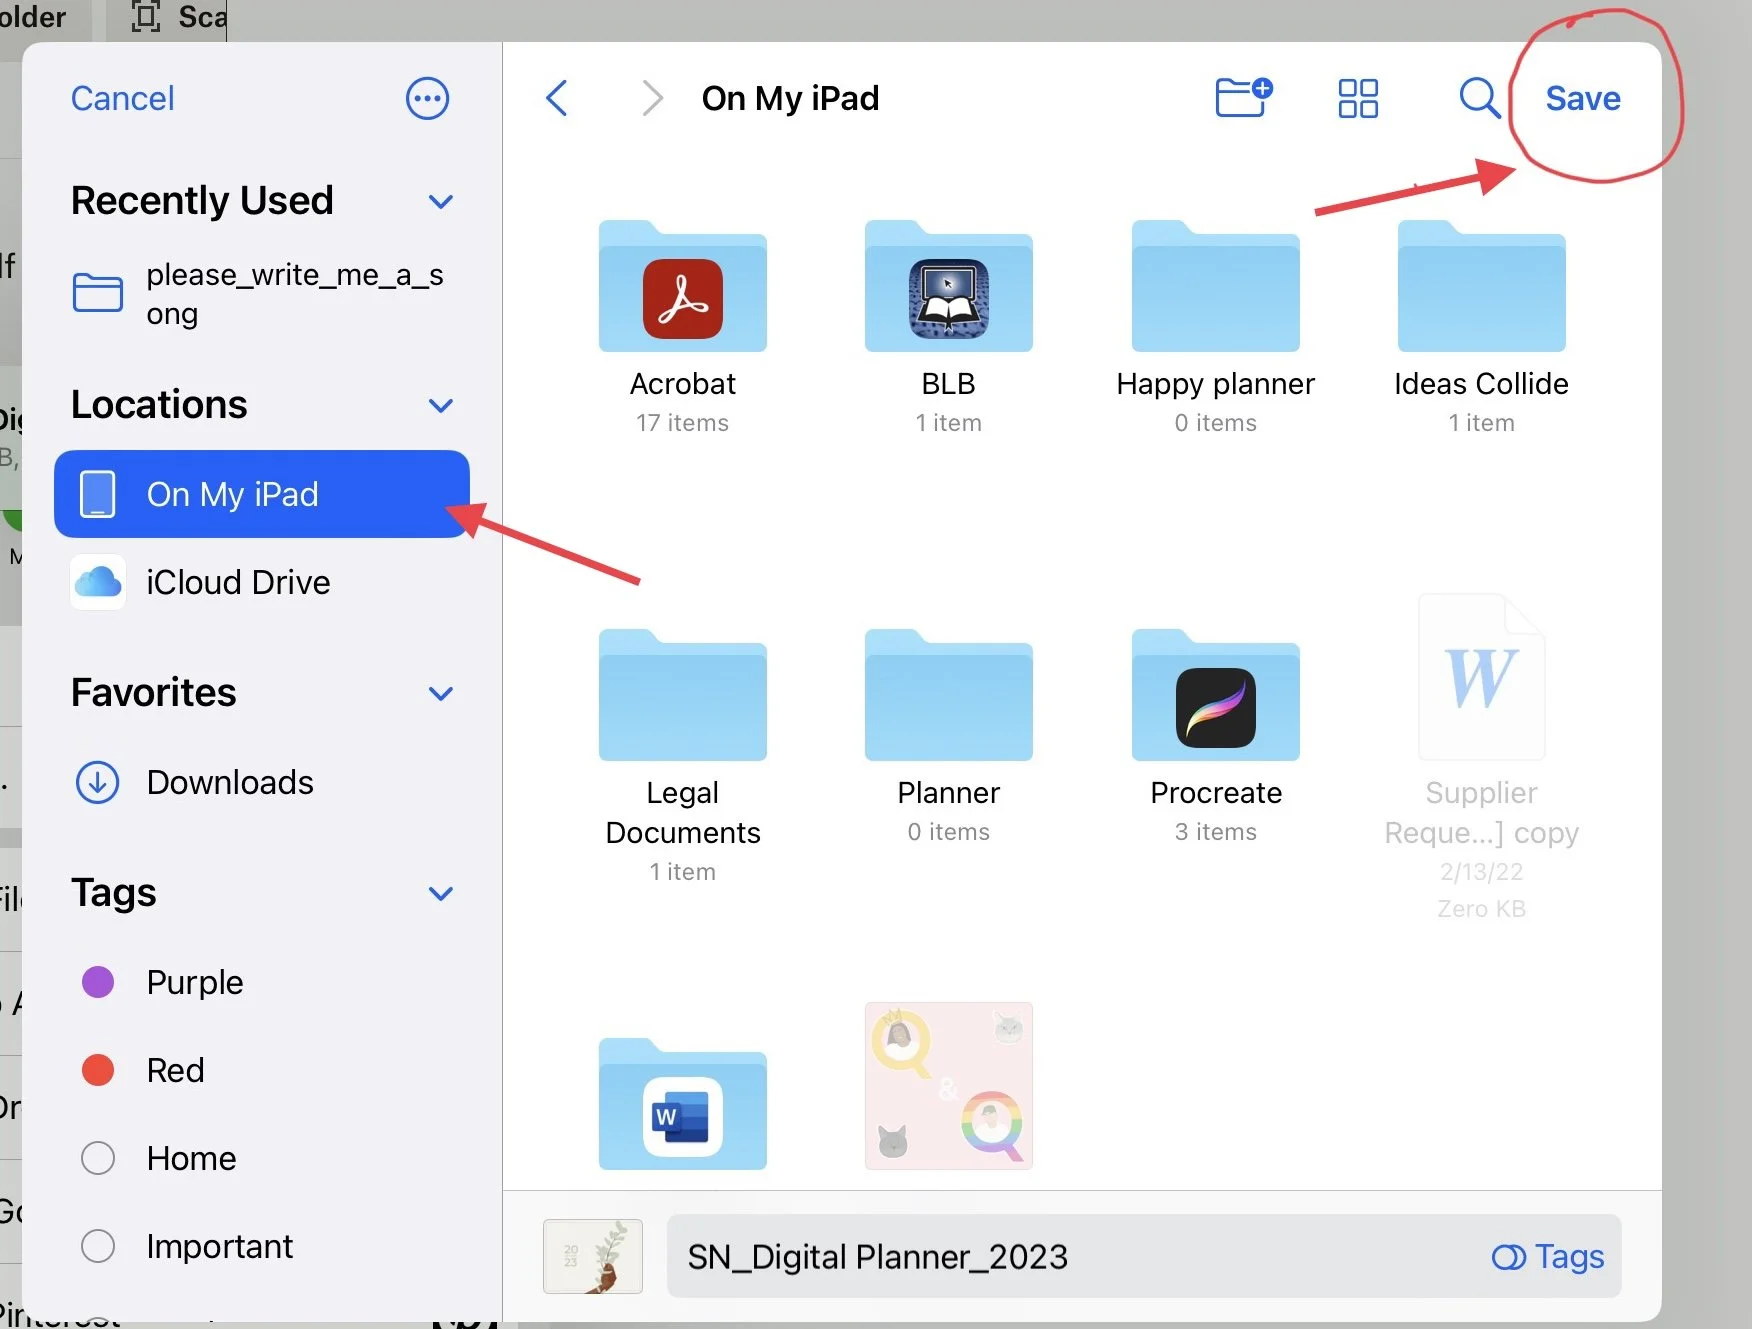
Find your file in your Files App or Cloud storage
Tap on the file to import it into GoodNotes and Tap “save”
There are many ways for you to use your stickers. Here I will show you the two most popular ways.
Option one: Copy and paste method
Enable Editing-Mode
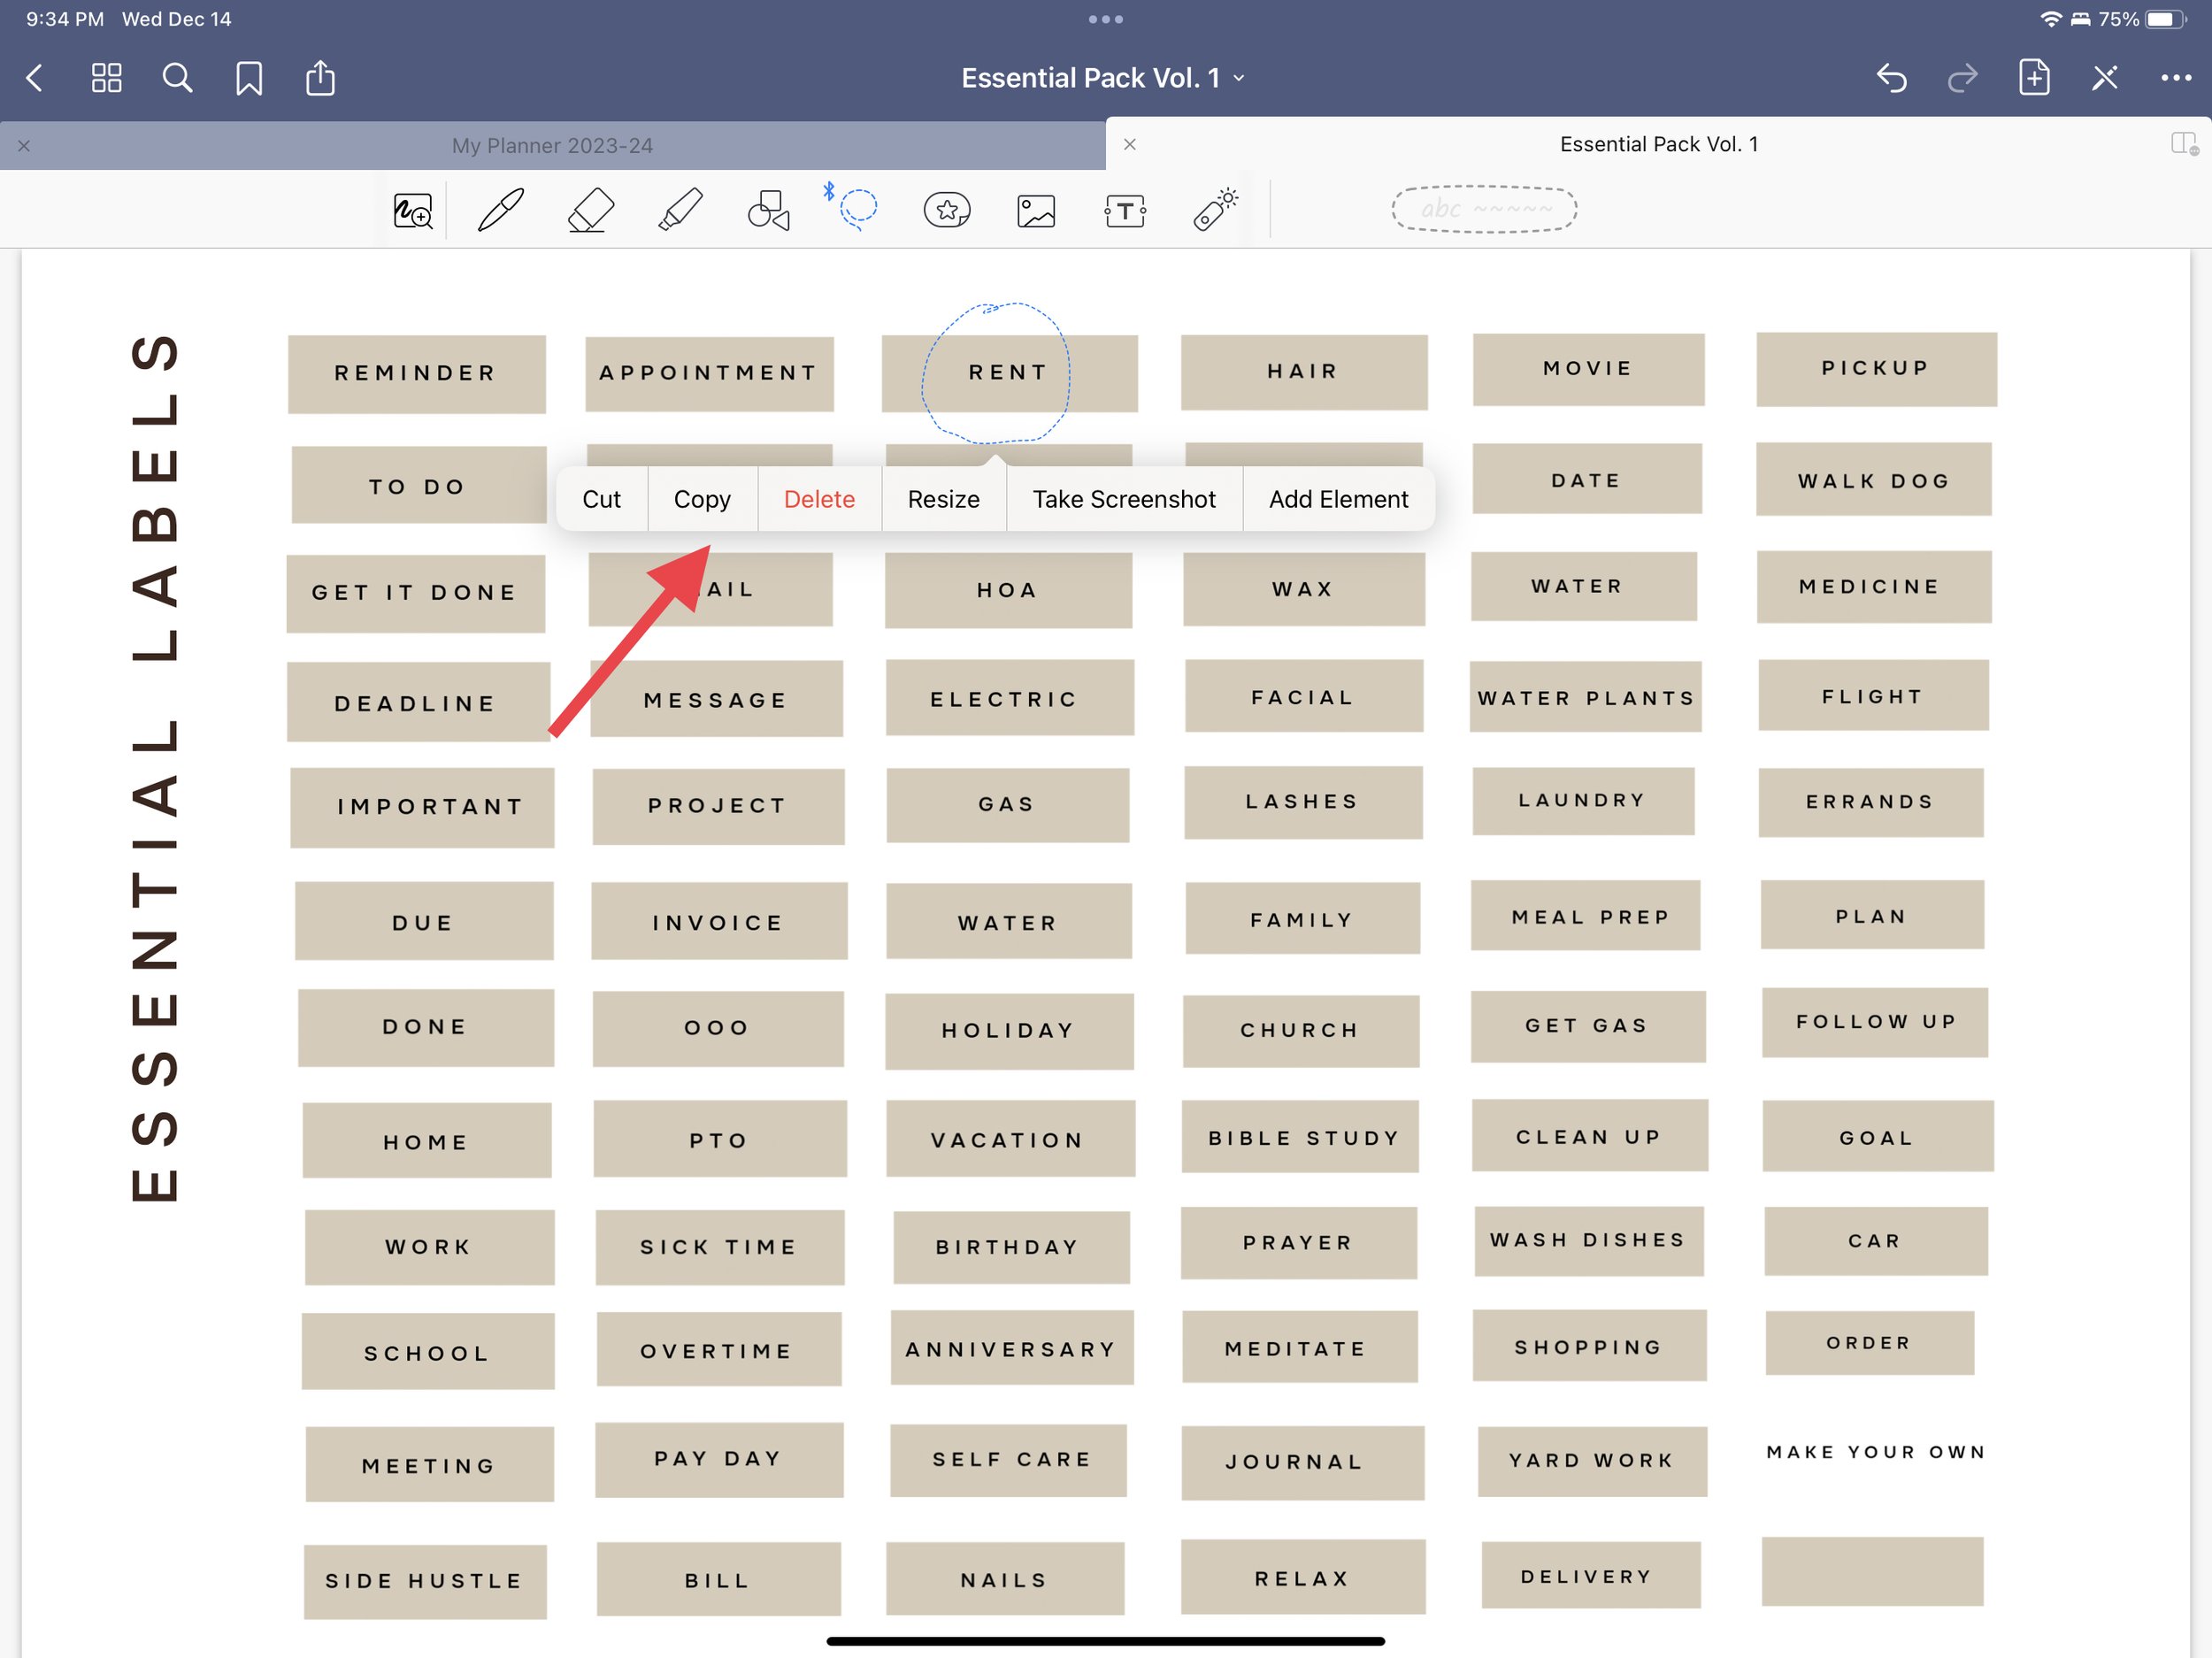
Tap the “Lasso Tool” in the menu bar

Draw around the sticker of choice
Tap your selection that has a blue dotted line around it
Secondary options will appear
Tap “Copy”
Click back to your digital planner
Tap the “Lasso” tool
While the Lasso tool is still selected, tap and hold anywhere on the page
Tap “Paste”

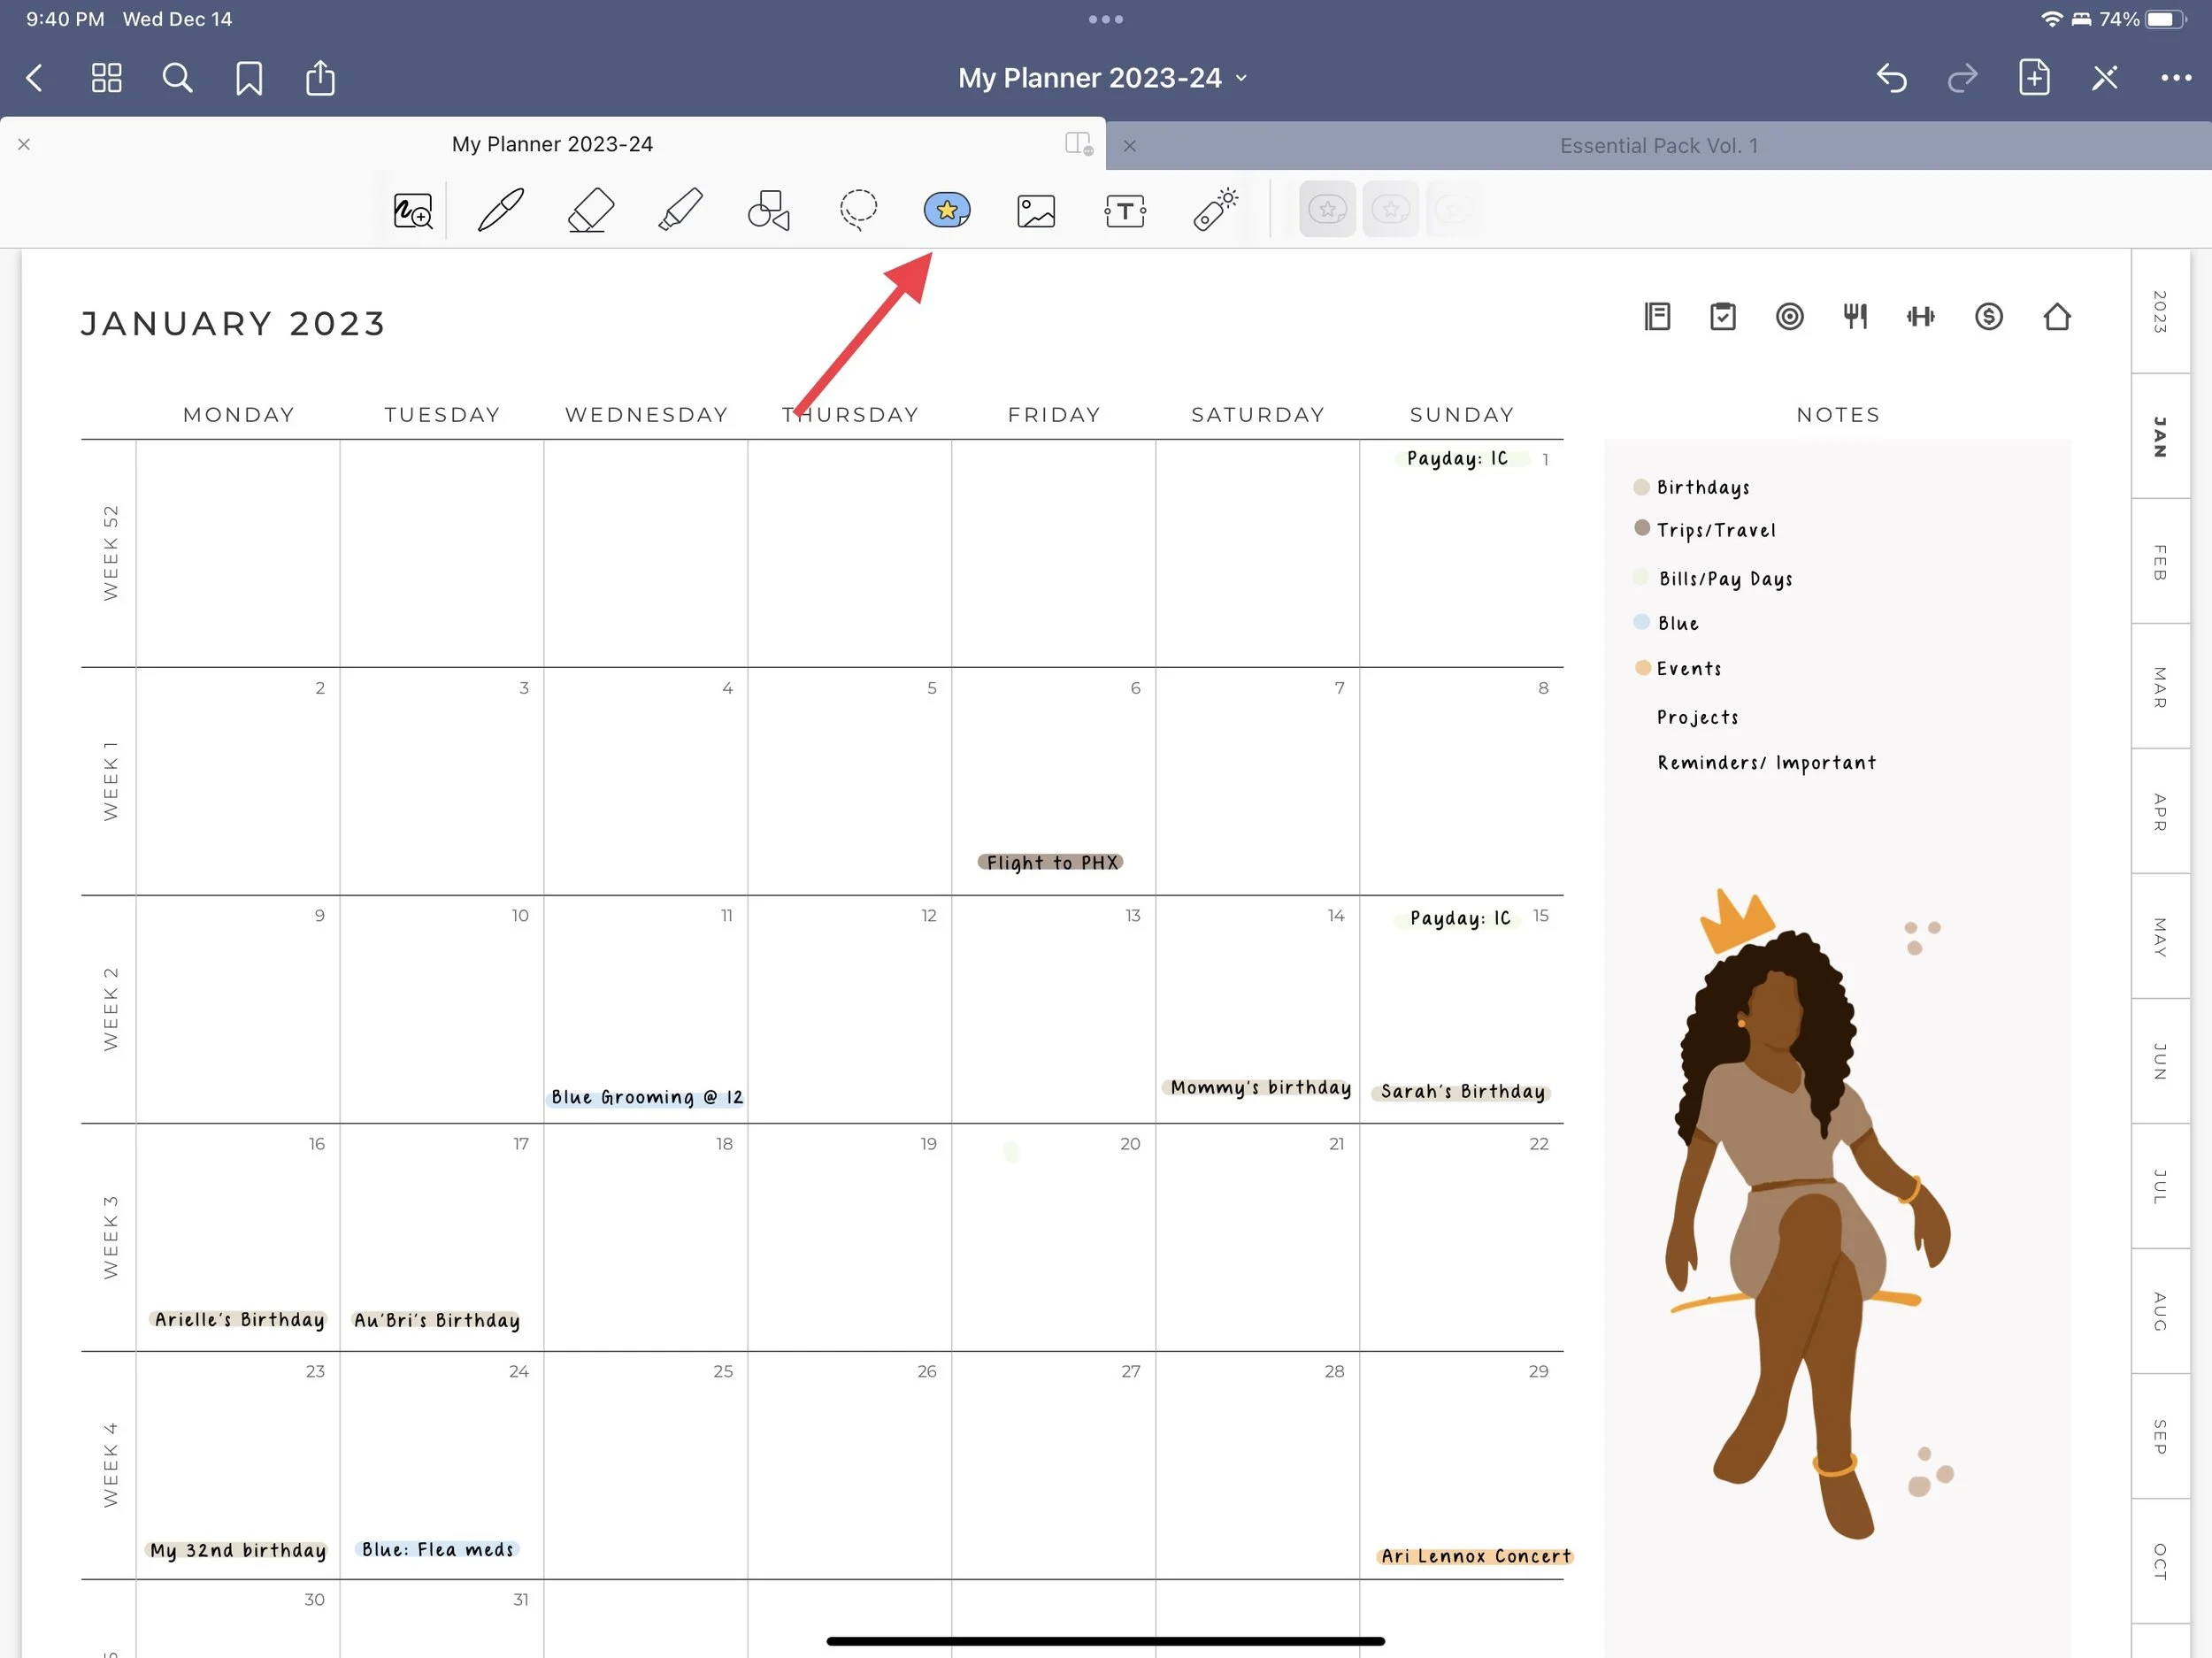
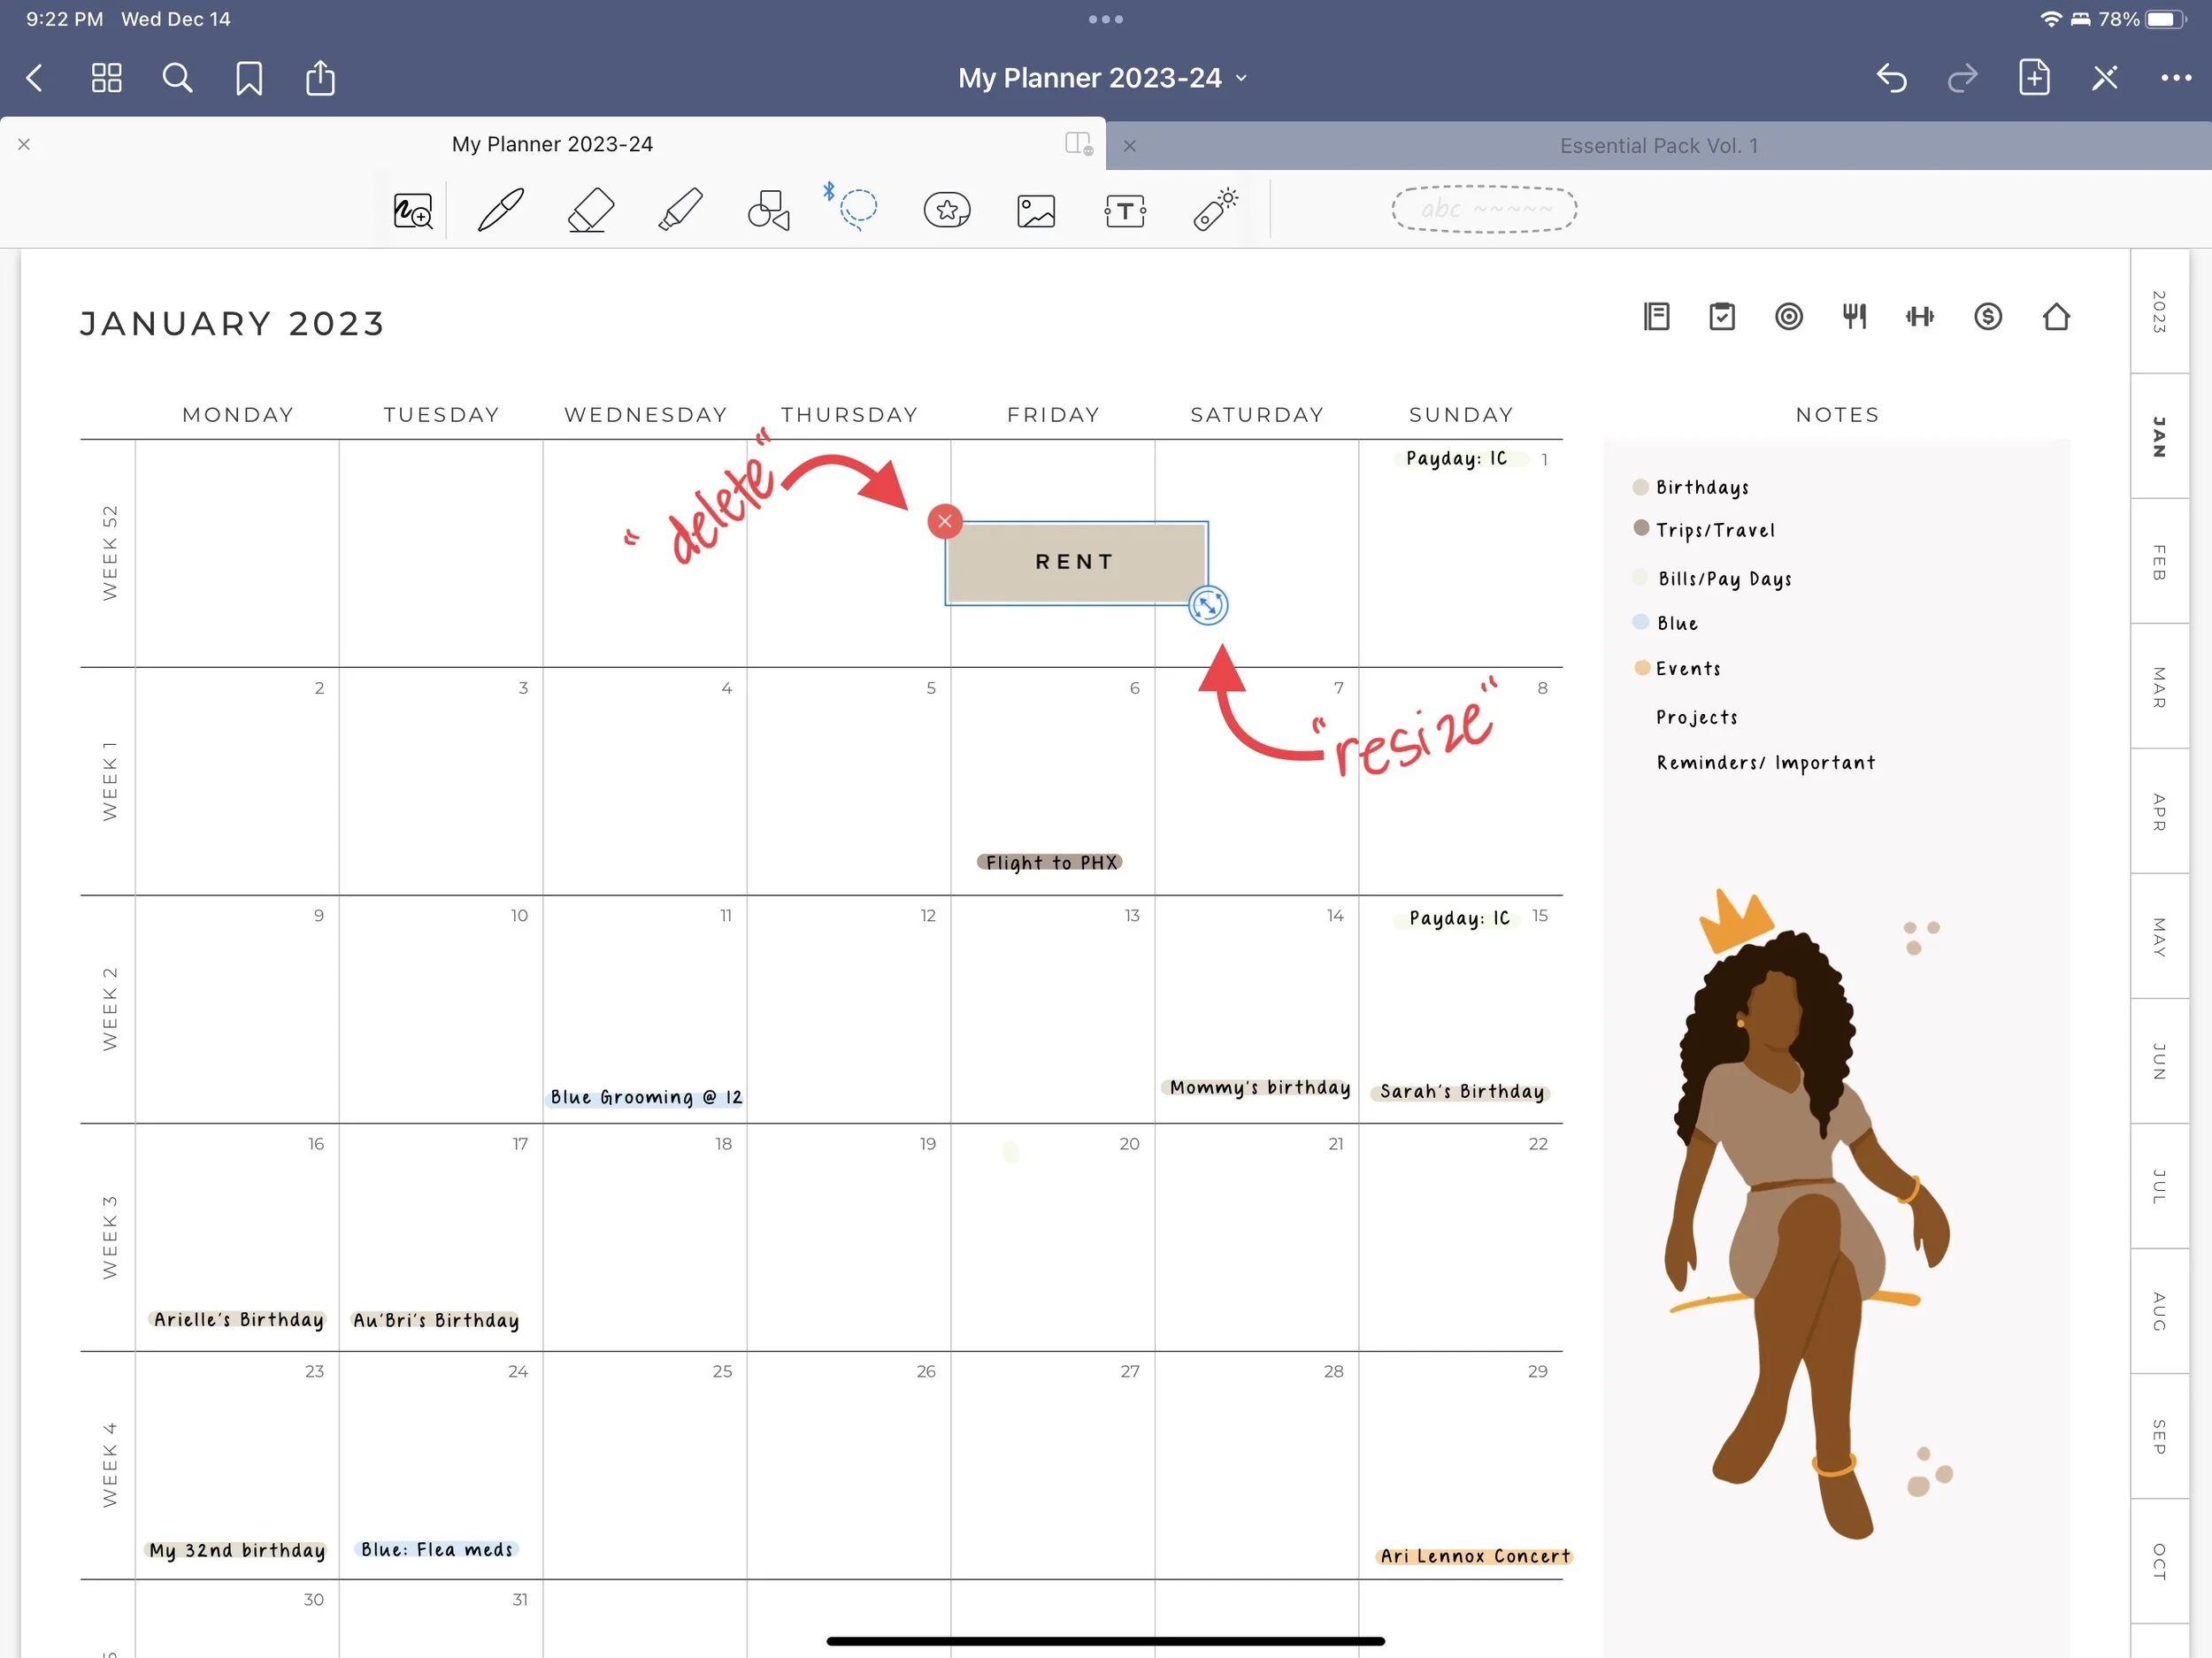
Once the sticker is pasted it will have a blue bounding box (that means it’s selected). Use the red (x) delete and the blue outline circle to resize.
When done moving and resizing, tap anywhere on the screen to end

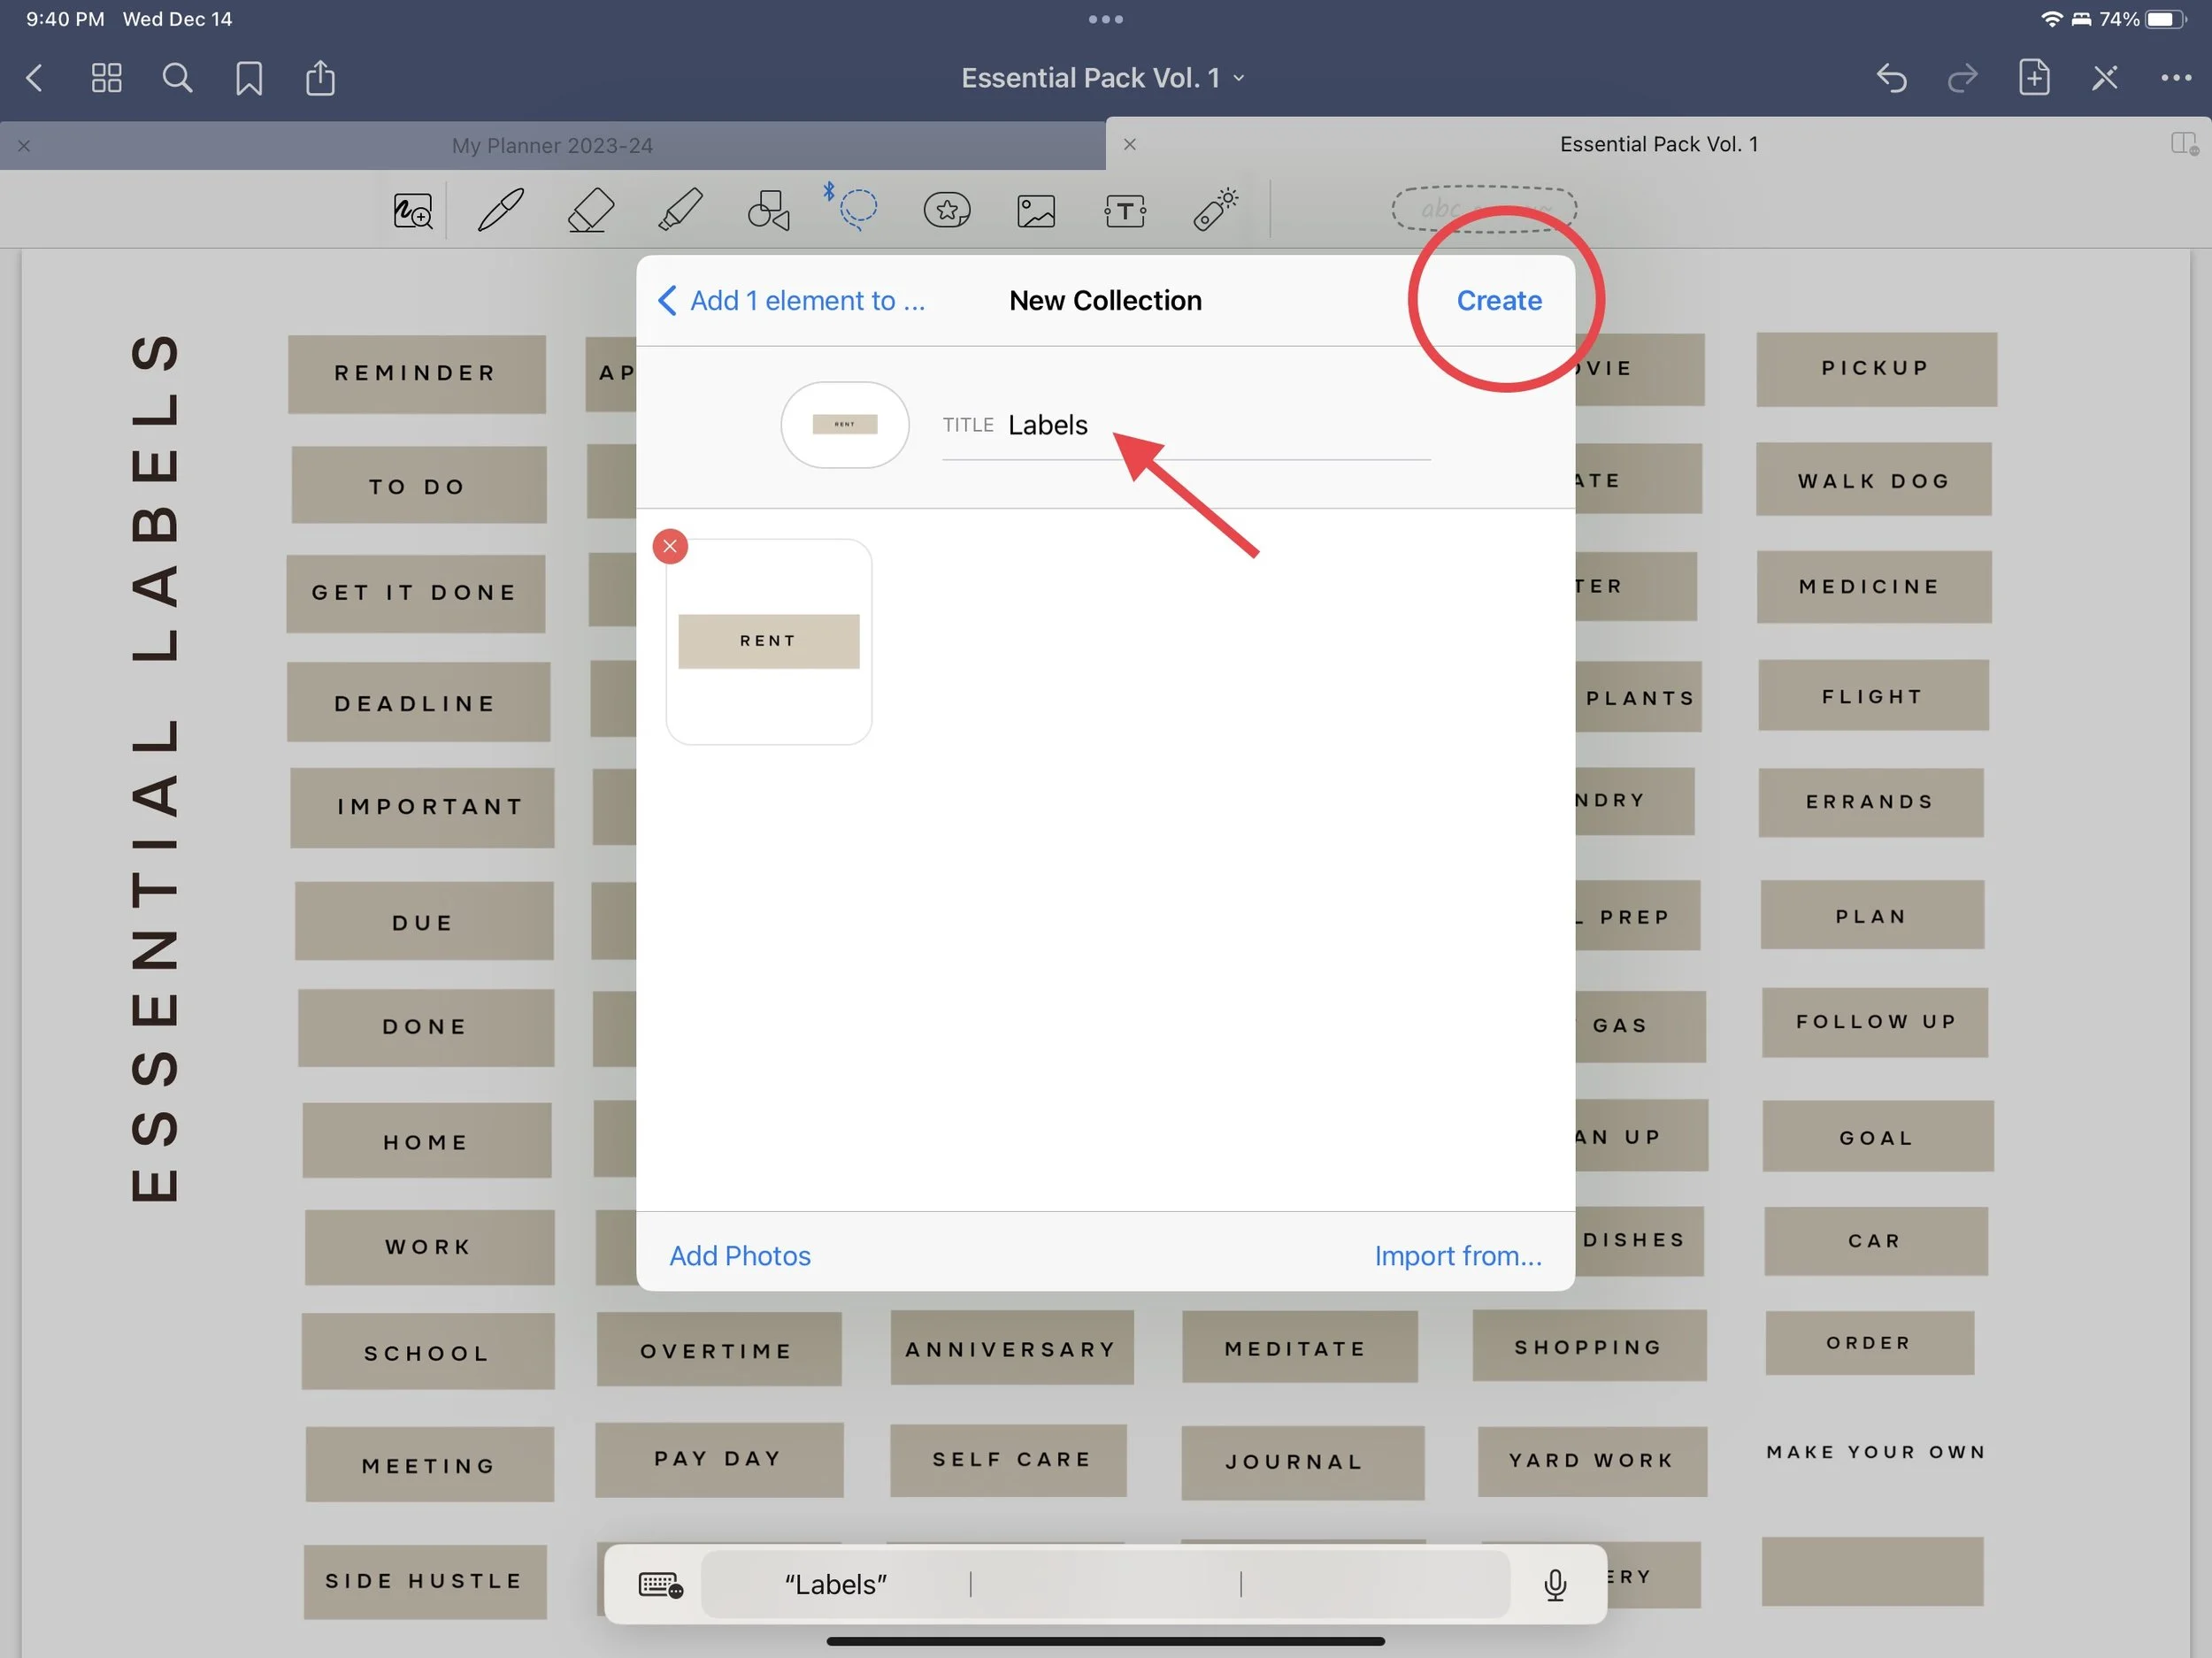
Option two: Elements method
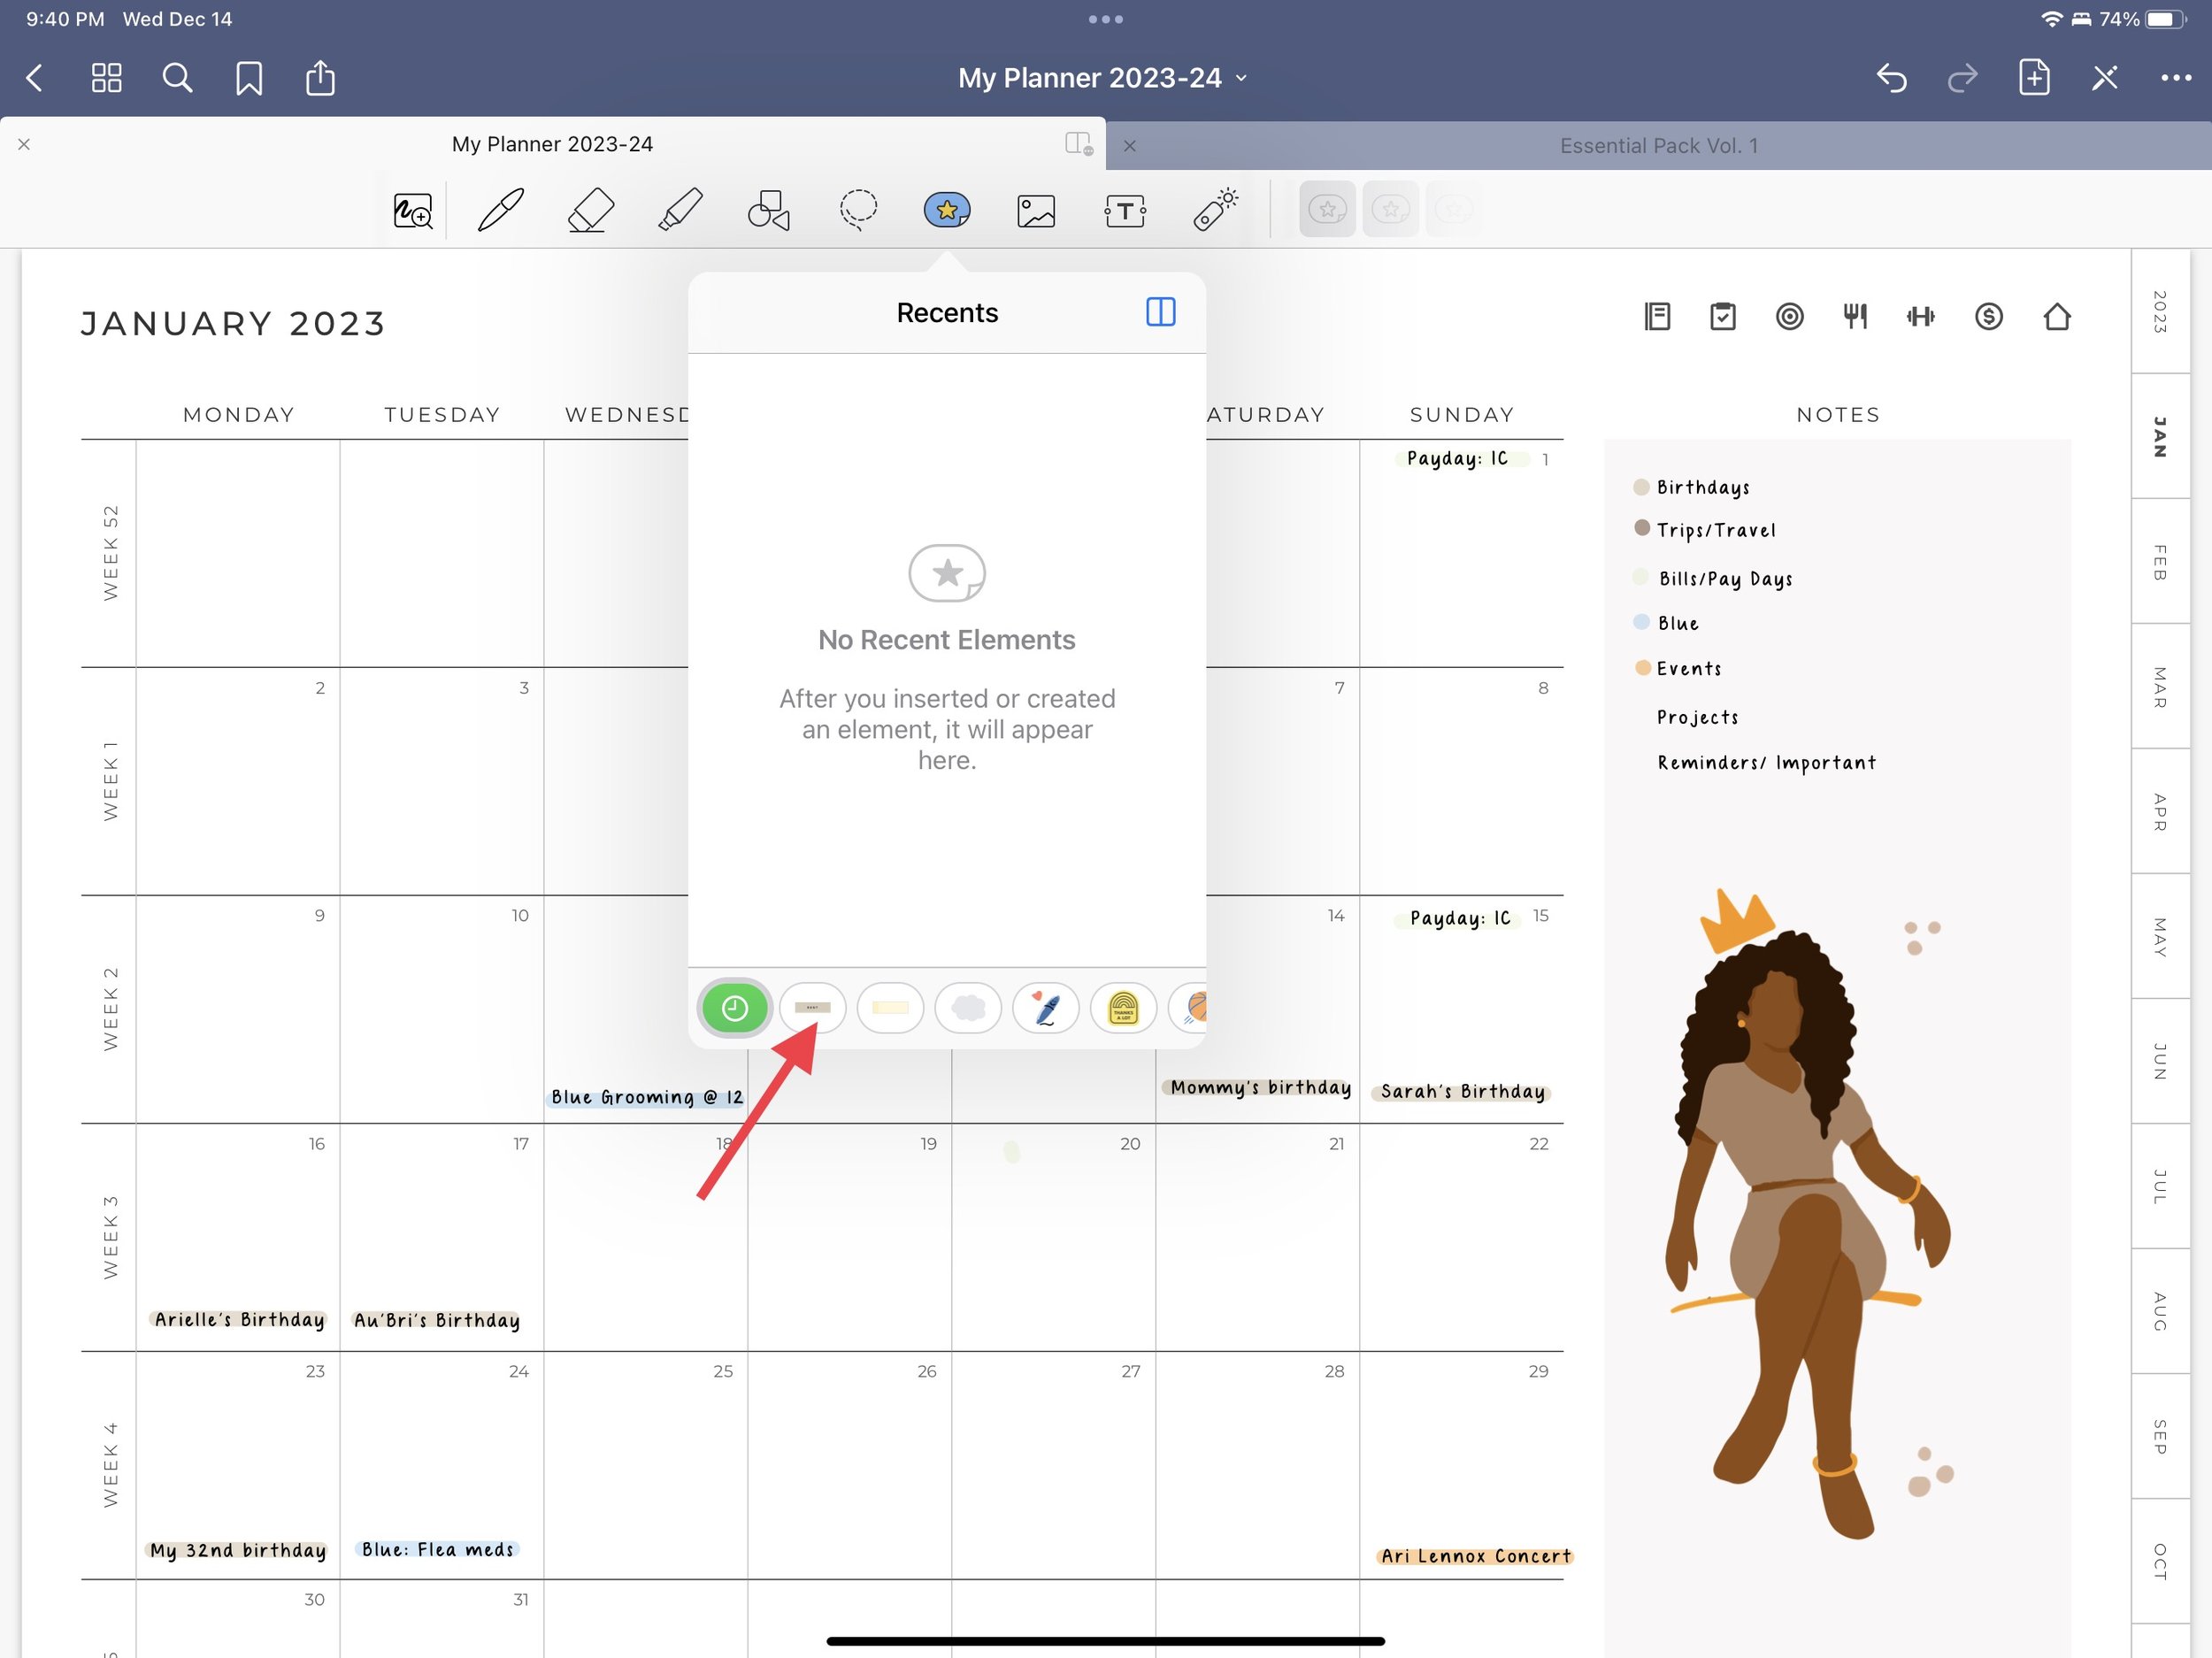
Tap the “Elements Icon,” it’s an oval with a star in it
Go to your stickerbook that you imported
Tap the “Lasso Tool” in the menu bar
Draw around the sticker of choice
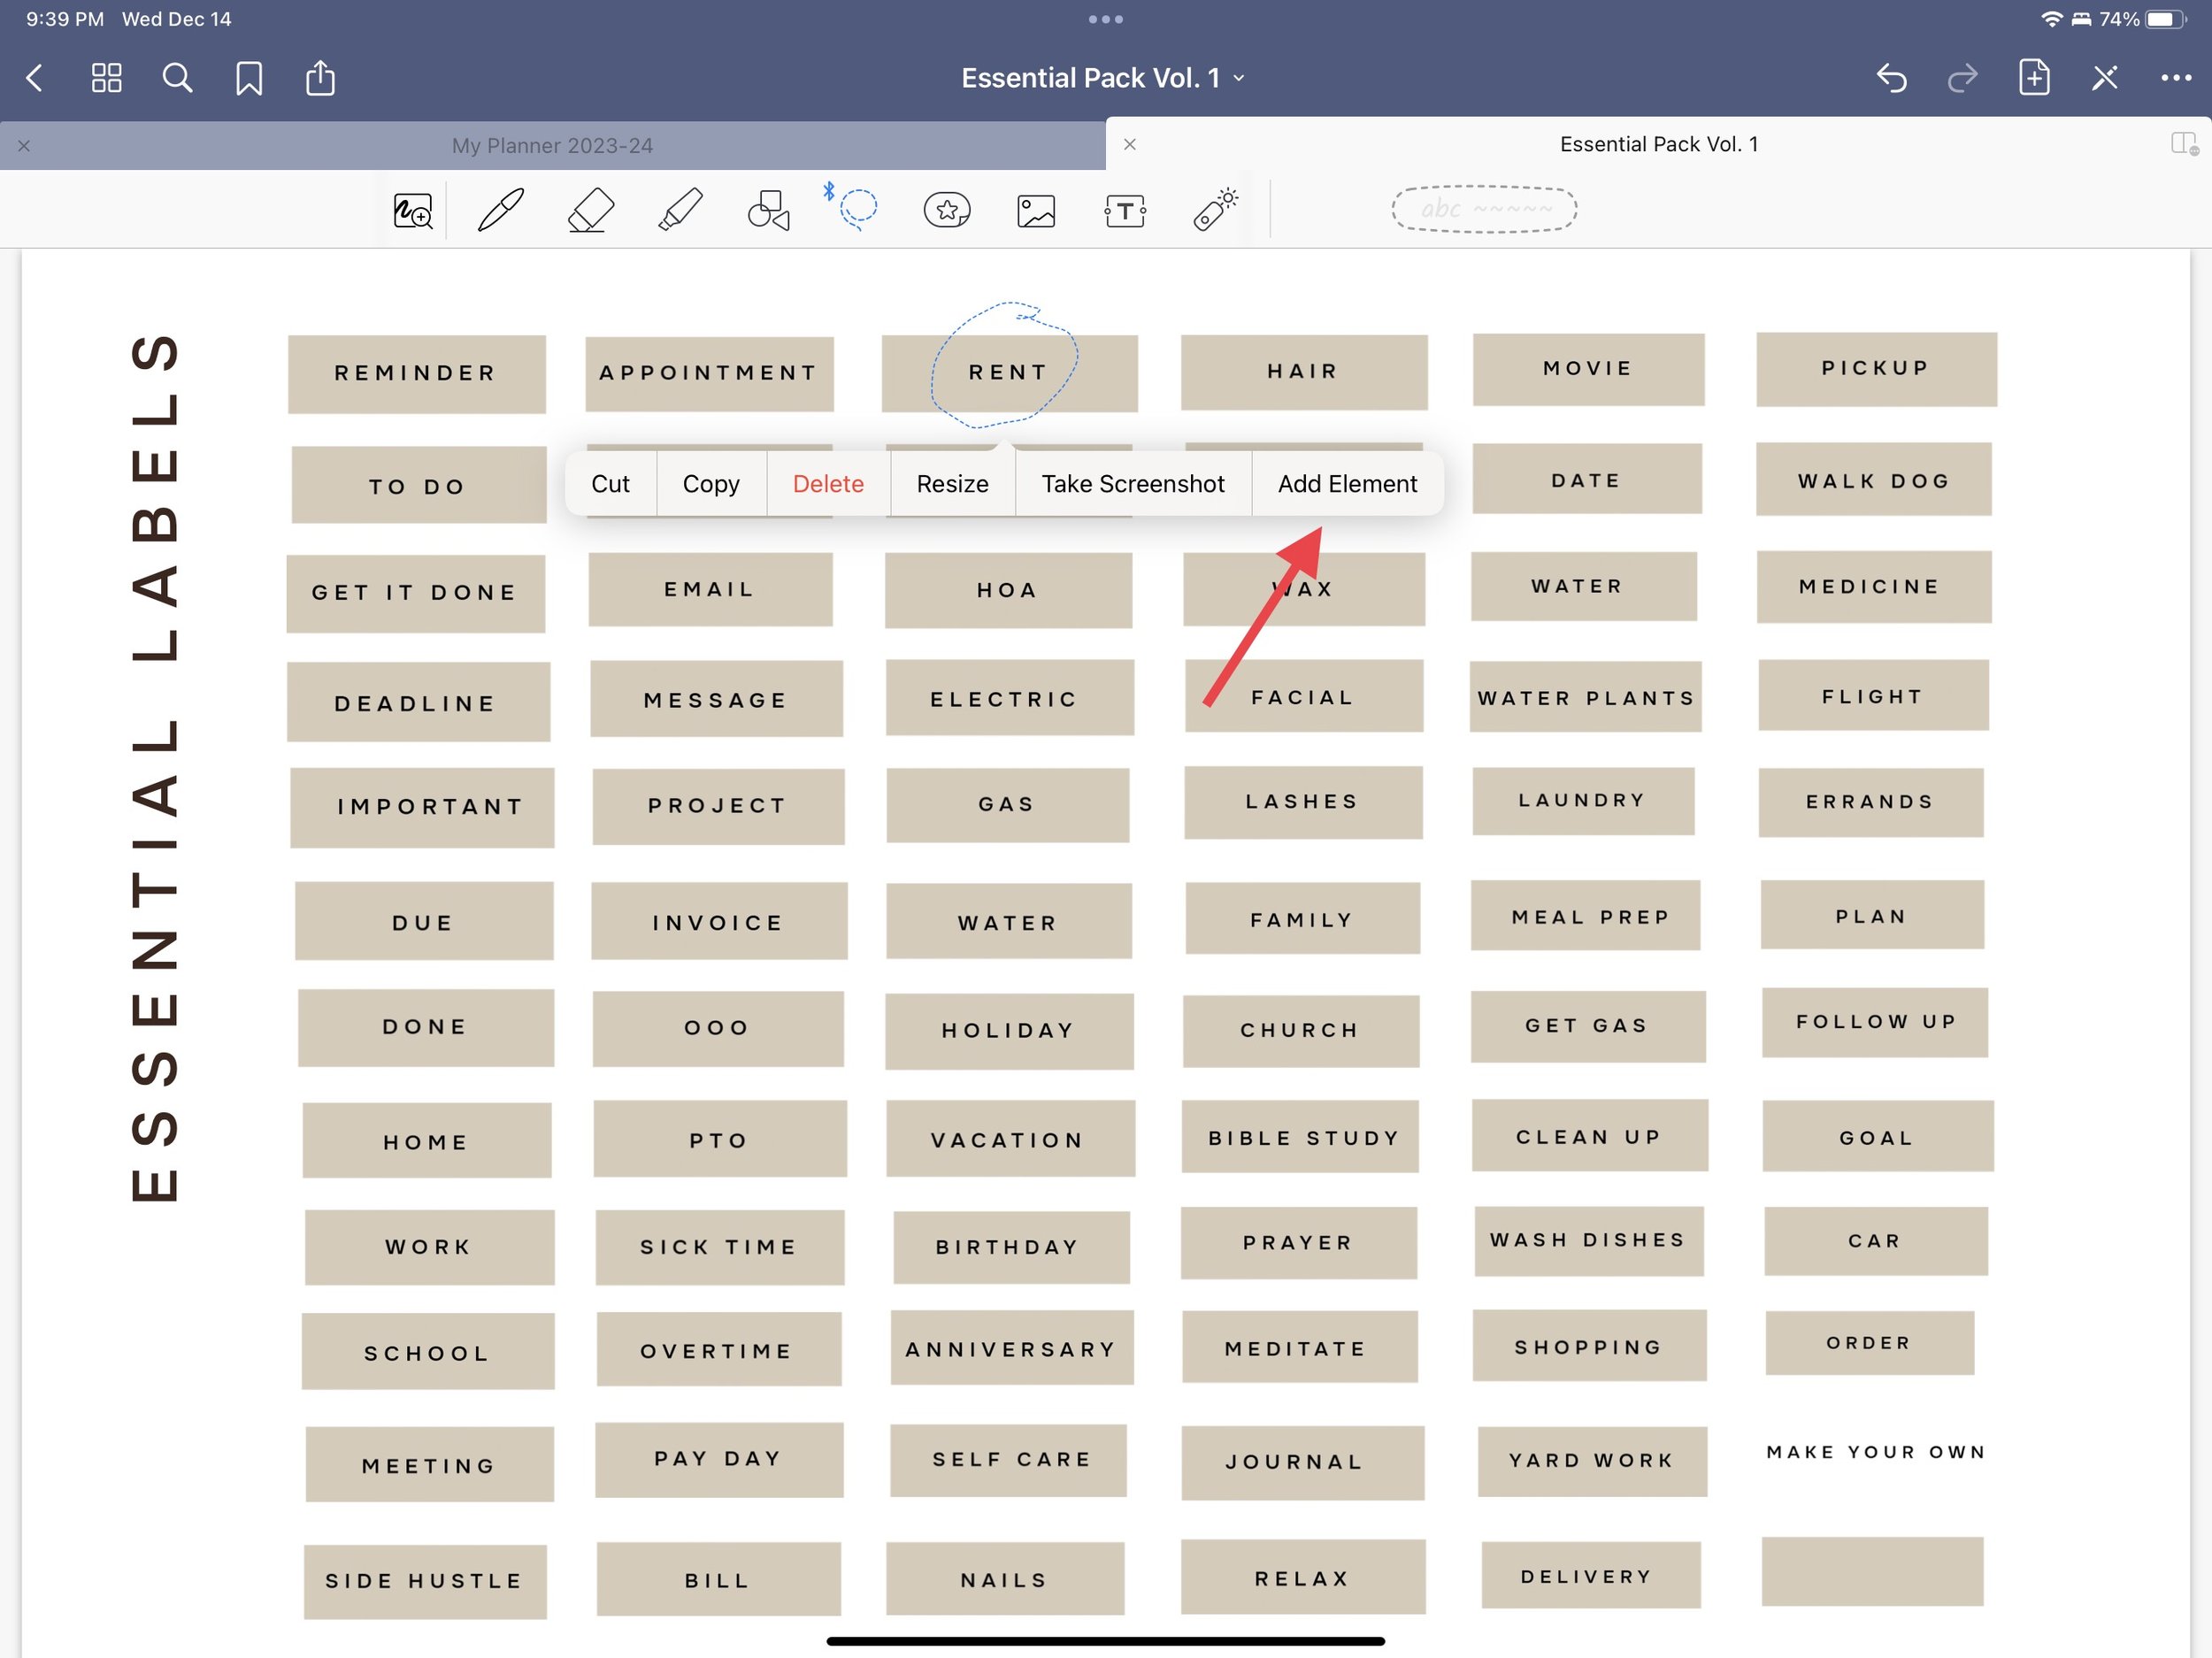
Tap your selection that has a blue dotted line around it
Secondary options will appear
Tap “Add element”
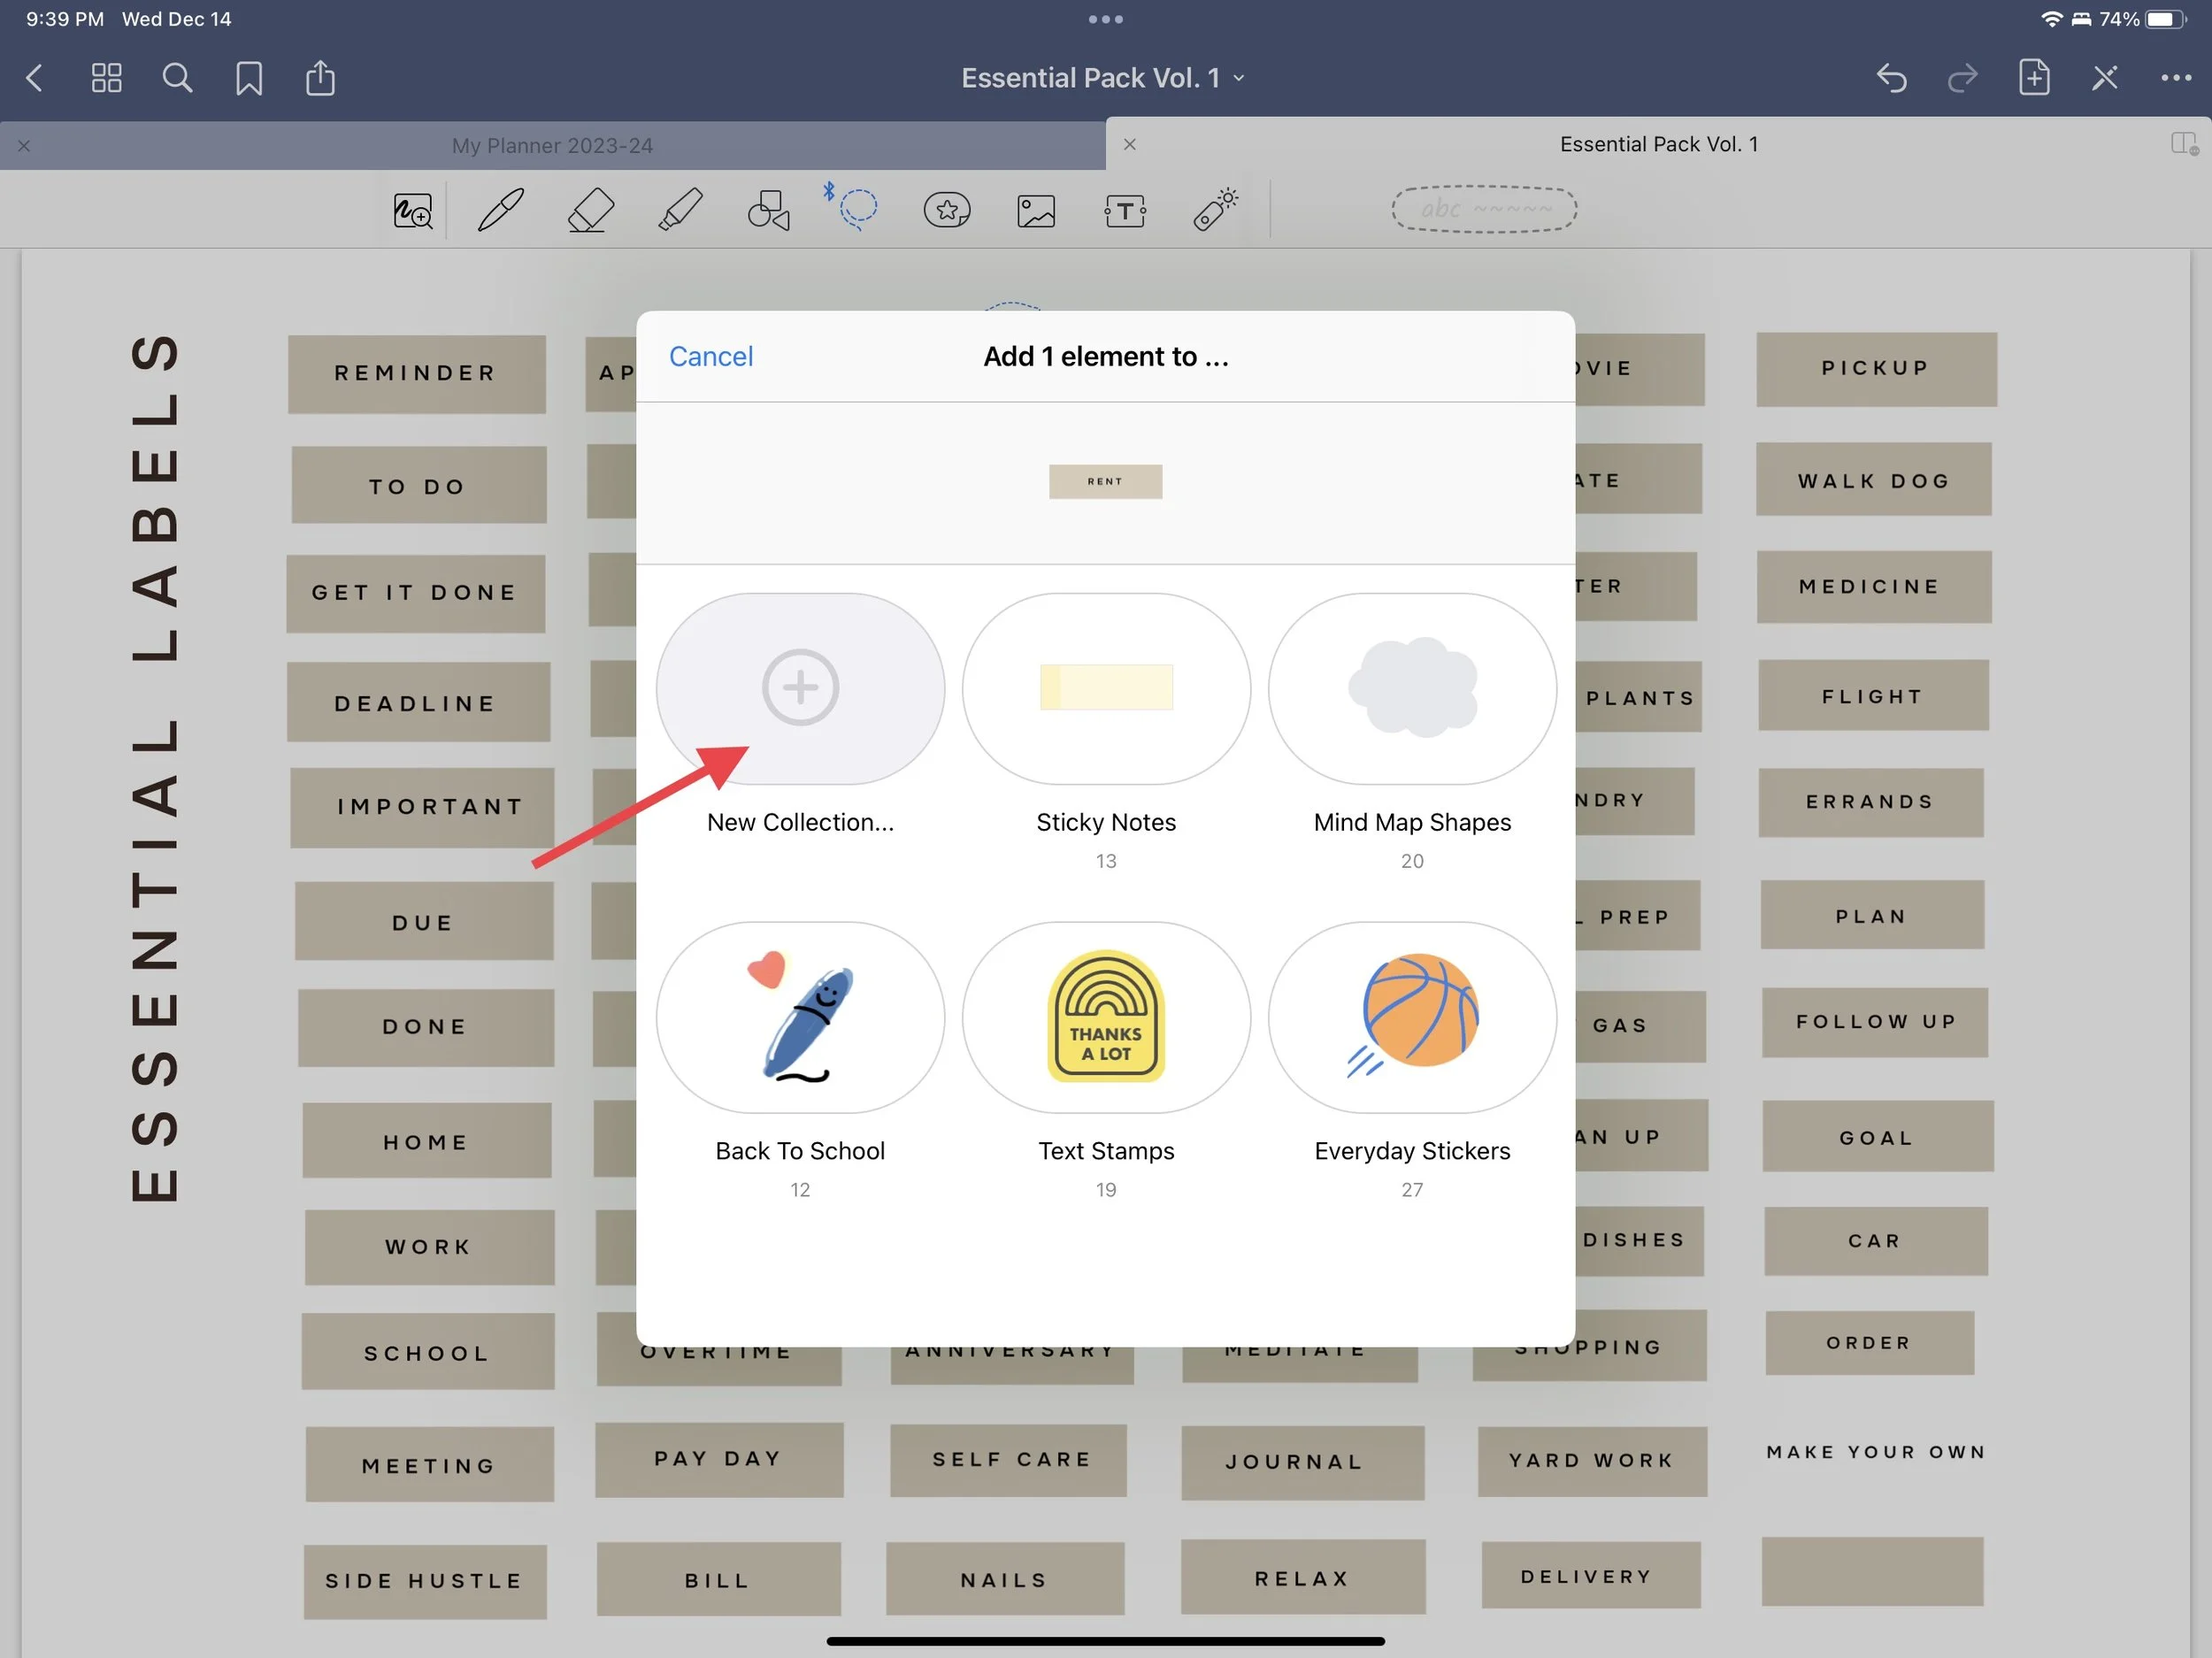
Save it to a collection (select “new collection” to make you own)
Tap “Create”
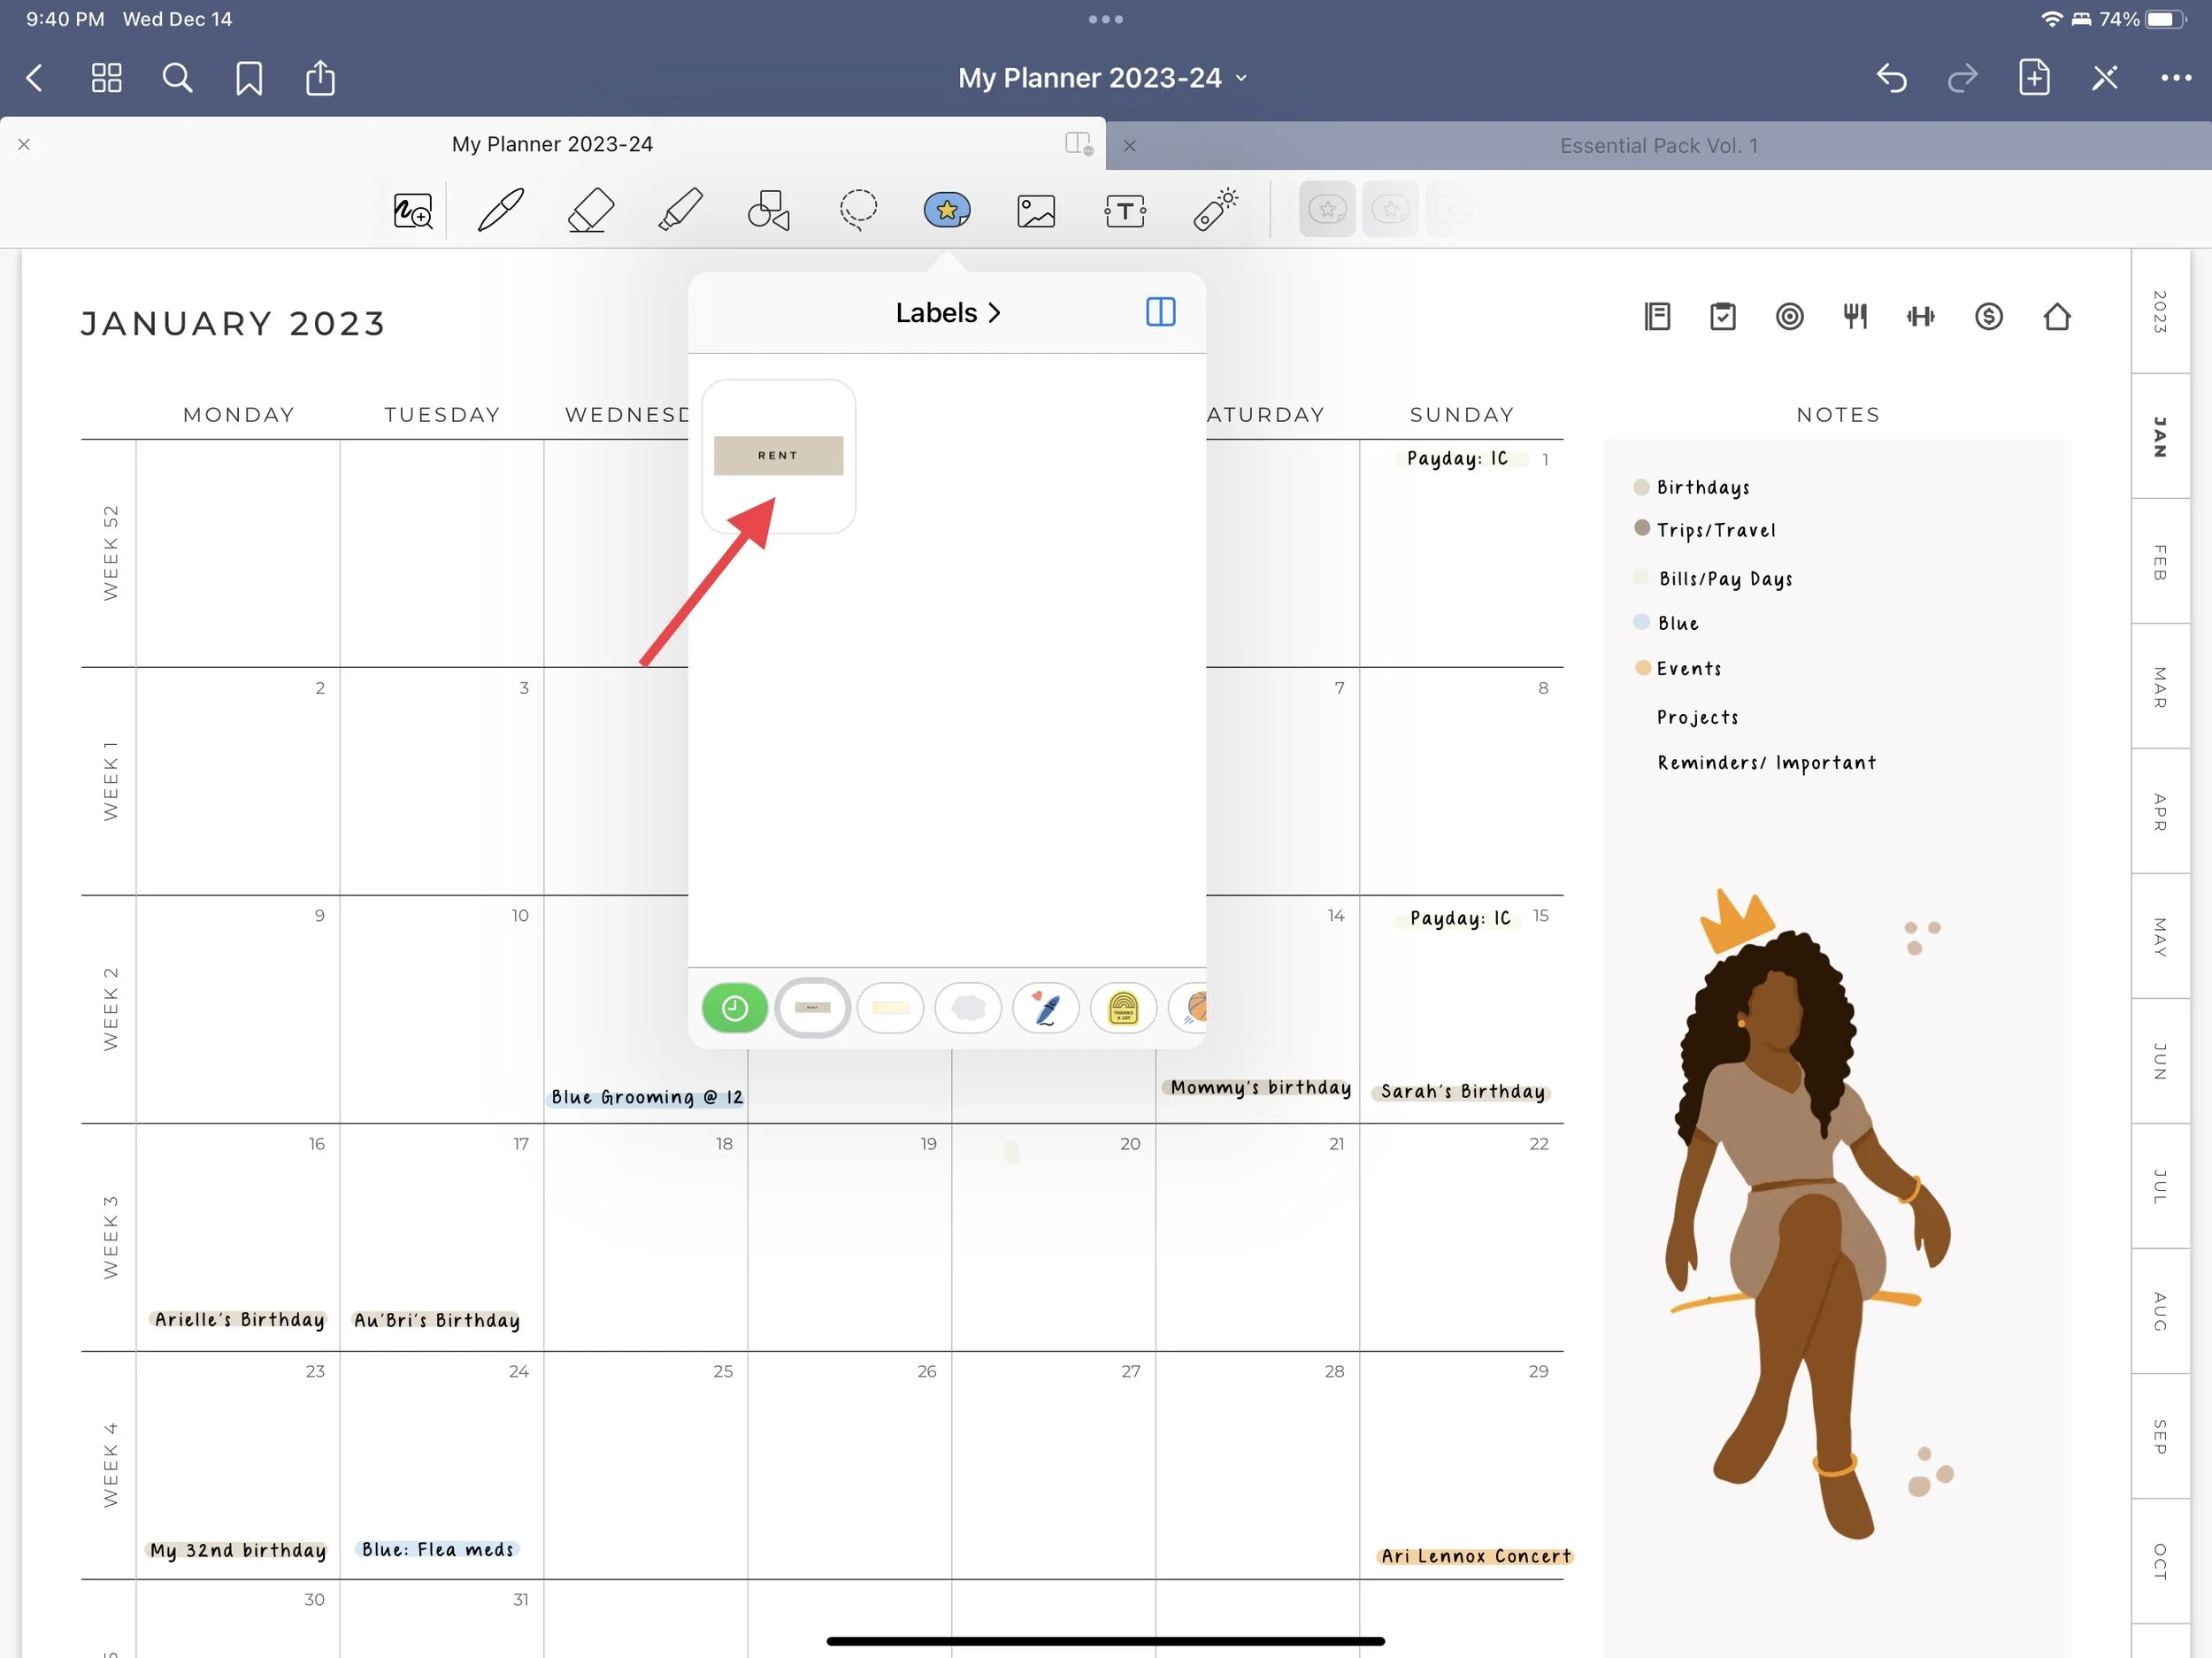
Tap the “Elements Icon” it’s an oval with a start in it
Tap on the desired icon
When you add stickers with either method you can rotate, resize and crop them.
With the “Lasso Tool” selected tap and hold the sticker until the options panel appears
Tap “edit”
Delete: Red circle with X in it (top left)
Crop: Blue outlined box with arrows (top middle and right side middle)
Revise/rotate: Blue outlined circle with arrows (bottom right corner)
Please note with Precorpped stickers you won’t need to crop them. So the crop function isn’t shown.